How to install and use Nginx and PHP7 on Ubuntu server
Recently I need to study PHP, but I found PHP unlikes scripting languages like Python and JavaScript can be viewed directly in local, PHP needs run on the server. This requires setting up an environment to learn. Although many websites that also provide already built websites, but I think I should learn how to prepare when I learn how to use PHP. Otherwise, when I still don’t know how to start by myself. It would be extremely embarrassing.
I use Ubuntu 20.04.4 LTS, Tencent lightweight cloud server. Plan to install PHP7 and Nginx.
Install and start Nginx
The first step is of course to implement the server framework, here using Nginx.
First is to install Nginx:
$ sudo apt update
$ sudo apt install nginx
After installed, start nginx server:
# Either is fine
$ sudo systemctl start nginx
$ sudo systemctl start nginx.service
If you want to stop nginx server:
# Either is fine
$ sudo systemctl stop nginx
$ sudo systemctl stop nginx.service
If you want to restart nginx server:
# Either is fine
$ sudo systemctl restart nginx
$ sudo systemctl restart nginx.service
Install PHP
If you read other articles, you will find that many people mentioned the need to install PHP-FPM (FastCGI Process Manager, used to handle some user requests, usually the communication protocol for handling PHP scripts). But starting from PHP 5.3.3, PHP-FPM is included in PHP core. But you still need to install it by hand (the problem will be mentioned later in this section).
PHP can be installed directly using apt:
$ sudo apt update
$ sudo apt install php
安装完的话,使用php -v来查看版本号,以此来确定是否安装好,如下:
After the installation, use php -v to check the version number to determine whether it is installed properly, as follows:
$ php -v
PHP 7.4.3 (cli) (built: Jun 13 2022 13:43:30) ( NTS )
Copyright (c) The PHP Group
Zend Engine v3.4.0, Copyright (c) Zend Technologies
    with Zend OPcache v7.4.3, Copyright (c), by Zend Technologies
Now PHP is installed (Really? Remember the question above?).
So If you deploy it directly, “502 Bad Gateway” will be displayed when viewed later.
This is because PHP7.4 in the Ubuntu package library does not include PHP-FPM. So you need to install it yourself. Fortunately, package is provided by apt, otherwise you would have to compile PHP from scratch. The method is as follows:
$ sudo apt install php7.4-fpm
Deployment of environment
Nginx
First open the deployment file of Nginx to change some settings (you need to use sudo to call root permissions):
$ sudo vi /etc/nginx/nginx.conf
Write below codes in some place:
	server {
                listen  80;
                server_name     xxx.x.x.x;
                root    /home/lighthouse/;
                index   index.html index.htm index.php;

                location \ {
                        index index.html;
                }

				# it means that ".php" files will be executed according to the following content
                location ~ \.php$ {
                        fastcgi_pass      127.0.0.1:9000;
                        fastcgi_index     index.php;
                        include           fastcgi.conf;
                }
        }
Nginx is simply deployed.
PHP-FPM
If PHP-FPM is installed as mentioned above, there will be an additional directory fpm under the directory /etc/php/7.4. Enter the pool.d directory in this directory, as follows:
$ cd /etc/php/7.4/fpm/pool.d
$ ls
www.conf
There is a file named www.conf, which controls some behaviors of PHP-FPM.
Because when configuring Nginx, let fastcgi (PHP-FPM) listen to the local port 9000. But in www.conf only let it listen to /run/php/php7.4-fpm.sock, this is a socket, but it is usually empty.
So add the following line to www.conf to listen on port 9000:
listen = 9000
Like:

Usage
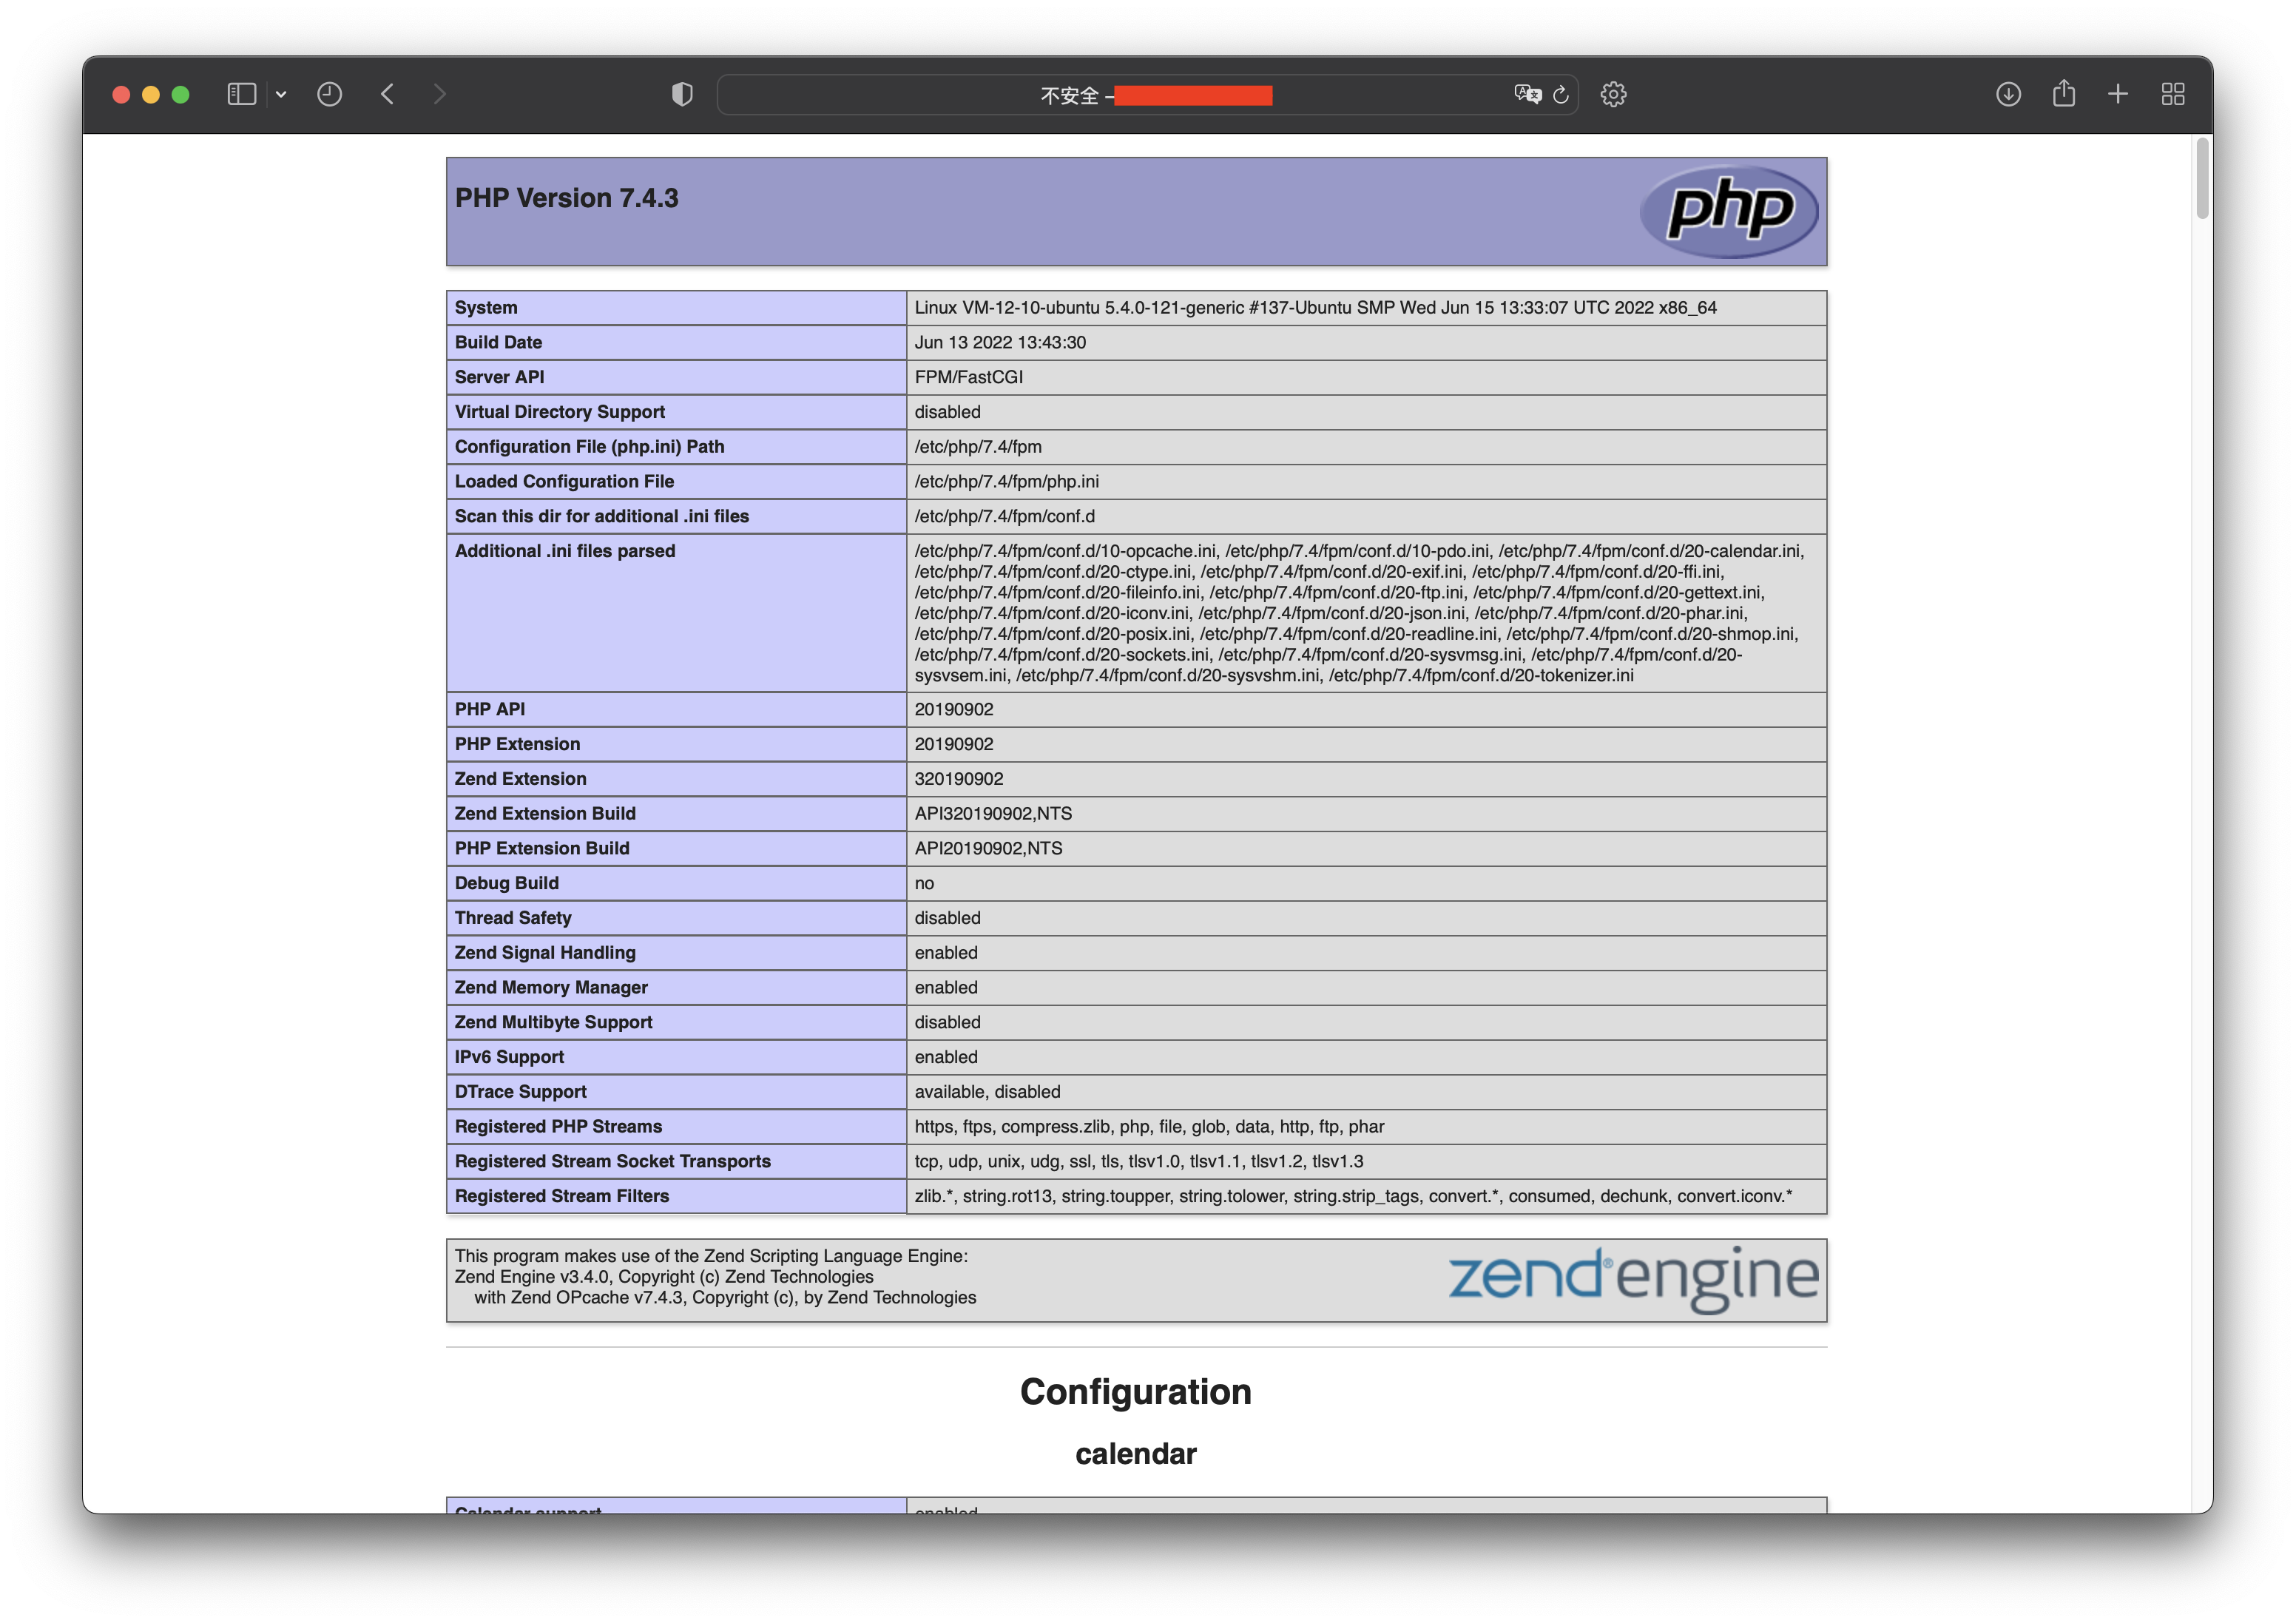
Since we set /home/lighthouse/ as the root directory earlier, we create a new index.php file in it and enter the following content in it to view some server PHP information:
<?php
        phpinfo();
?>
Then enter the following address in the browser (xxx.x.x.x is the server’s IP):
xxx.x.x.x/index.php
Now you can see:
Some troubles and solutions
Some strange problems may occur during configuration and use. Here are some solutions that may be used.
Find nginx error log
The error log can be found in the /etc/nginx/nginx.conf file. The log records the time, status and cause of the error, which makes it easier for us to troubleshoot.
For example, there is a “Log Settings” section in /etc/nginx/nginx.conf, which describes the location of the error log:
# Log Settings
access_log /var/log/nginx/access.log;
# This is Log errors
error_log /var/log/nginx/error.log;
Then use the following command to view:
$ sudo less /var/log/nginx/error.log
The possible problems are as follows (the push stream cannot be connected):
2022/06/23 19:33:39 [error] 6972#6972: *1 connect() failed (111: Connection refused) while connecting to upstream, client: xxx.xxx.xxx.xx, server: xxx.x.x.x, request: "GET /index.php HTTP/1.1", upstream: "fastcgi://127.0.0.1:9000", host: "xxx.x.x.x"
The reason is not installing PHP-FPM. Sometimes it may cause the following problems (wrong protocol):
2022/06/23 19:33:39 [error] 6972#6972: *1 upstream sent unsupported FastCGI protocol version: 72 while reading response header from upstream, client: xxx.xxx.xxx.xx, server: xxx.x.x.x, request: "GET /index.php HTTP/1.1", upstream: "fastcgi://127.0.0.1:9000", host: "xxx.x.x.x"
Manually installing PHP-FPM can solve this problem.
Find the PHP configuration file php.ini
Sometimes it is necessary to adjust the PHP configuration file, but we don’t know where is it. Use the following command to view php.ini directly, as follows:
$ php -ini
phpinfo()
PHP Version => 7.4.3

System => Linux VM-12-10-ubuntu 5.4.0-121-generic #137-Ubuntu SMP Wed Jun 15 13:33:07 UTC 2022 x86_64
Build Date => Jun 13 2022 13:43:30
Server API => Command Line Interface
Virtual Directory Support => disabled
Configuration File (php.ini) Path => /etc/php/7.4/cli
Loaded Configuration File => /etc/php/7.4/cli/php.ini
......
It’s extremely long, but you can see the above part at the beginning.
You can something like below describes the path of the configuration file php.ini /etc/php/7.4/cli.
Configuration File (php.ini) Path => /etc/php/7.4/cli
I hope these will help someone in need~