Guide of developing Tang Nano FPGA on Mac
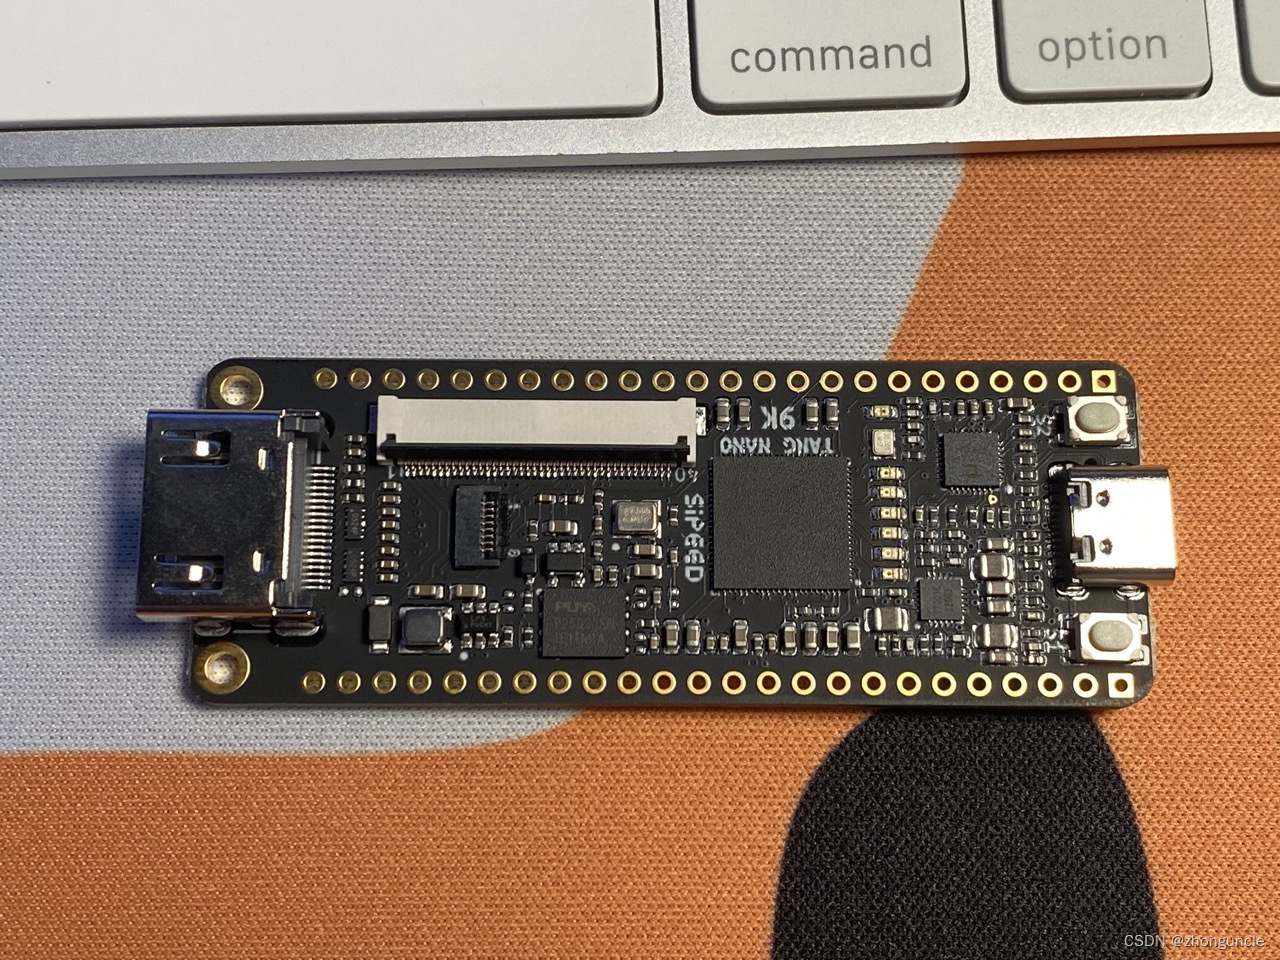
Recently I received a Tang nano 9K FPGA development board as gift, so I wanted to take this opportunity to study FPGA.
The official document recommand to use GOWIN IDE to develop GOWIN FPGA, but you need to apply for a license and submit a lot of information. Since it was a gift, So it is not convenient. In addition, IDE is actually not very suitable for learning and putting into production, because IDE hides many details. So I want to find other workflows, just like using any text editor and Clang/LLVM to compile C/C++ programs.
What is being developed in FPGA development?
First of all, you need to know what is being developed in FPGA development, and you can find the tools and software needed.
The essence of the computing machine executing various instructions is to energize the pins of series of logic units, and then output new circuit signals after passing through the logic circuit. From software perspective, the input of each pin is one bit of binary numbers (such as 01011101010) (in positive logic used generally, 1 represents high level, 0 means low level), the early perforated boards were the physical version of this binary number. **At all, finally you need a file that stores binary instructions, which will be executed by the FPGA. **
There is another question: The instructions how to know which the interfaces and pins are? If they don’t know, there is no way to get the correct binary instructions, because the operation objects of instructions will be wrong.
Interfaces and pins in instructions are essentially represented by these numbers, so you also need to a files to identify corresponding to the interfaces and pins.
In short, developing an FPGA is about writing two files: xxxx.v and xxxx.cst.
- The
.vfile stores Verilog language codes, which are used to connect various gates, registers, and some hard IP (hard intellectual property) in the circuit. - The
.cstfile stores the pin constraint, which is used to represent role and voltage of each pin on the FPGA development board.
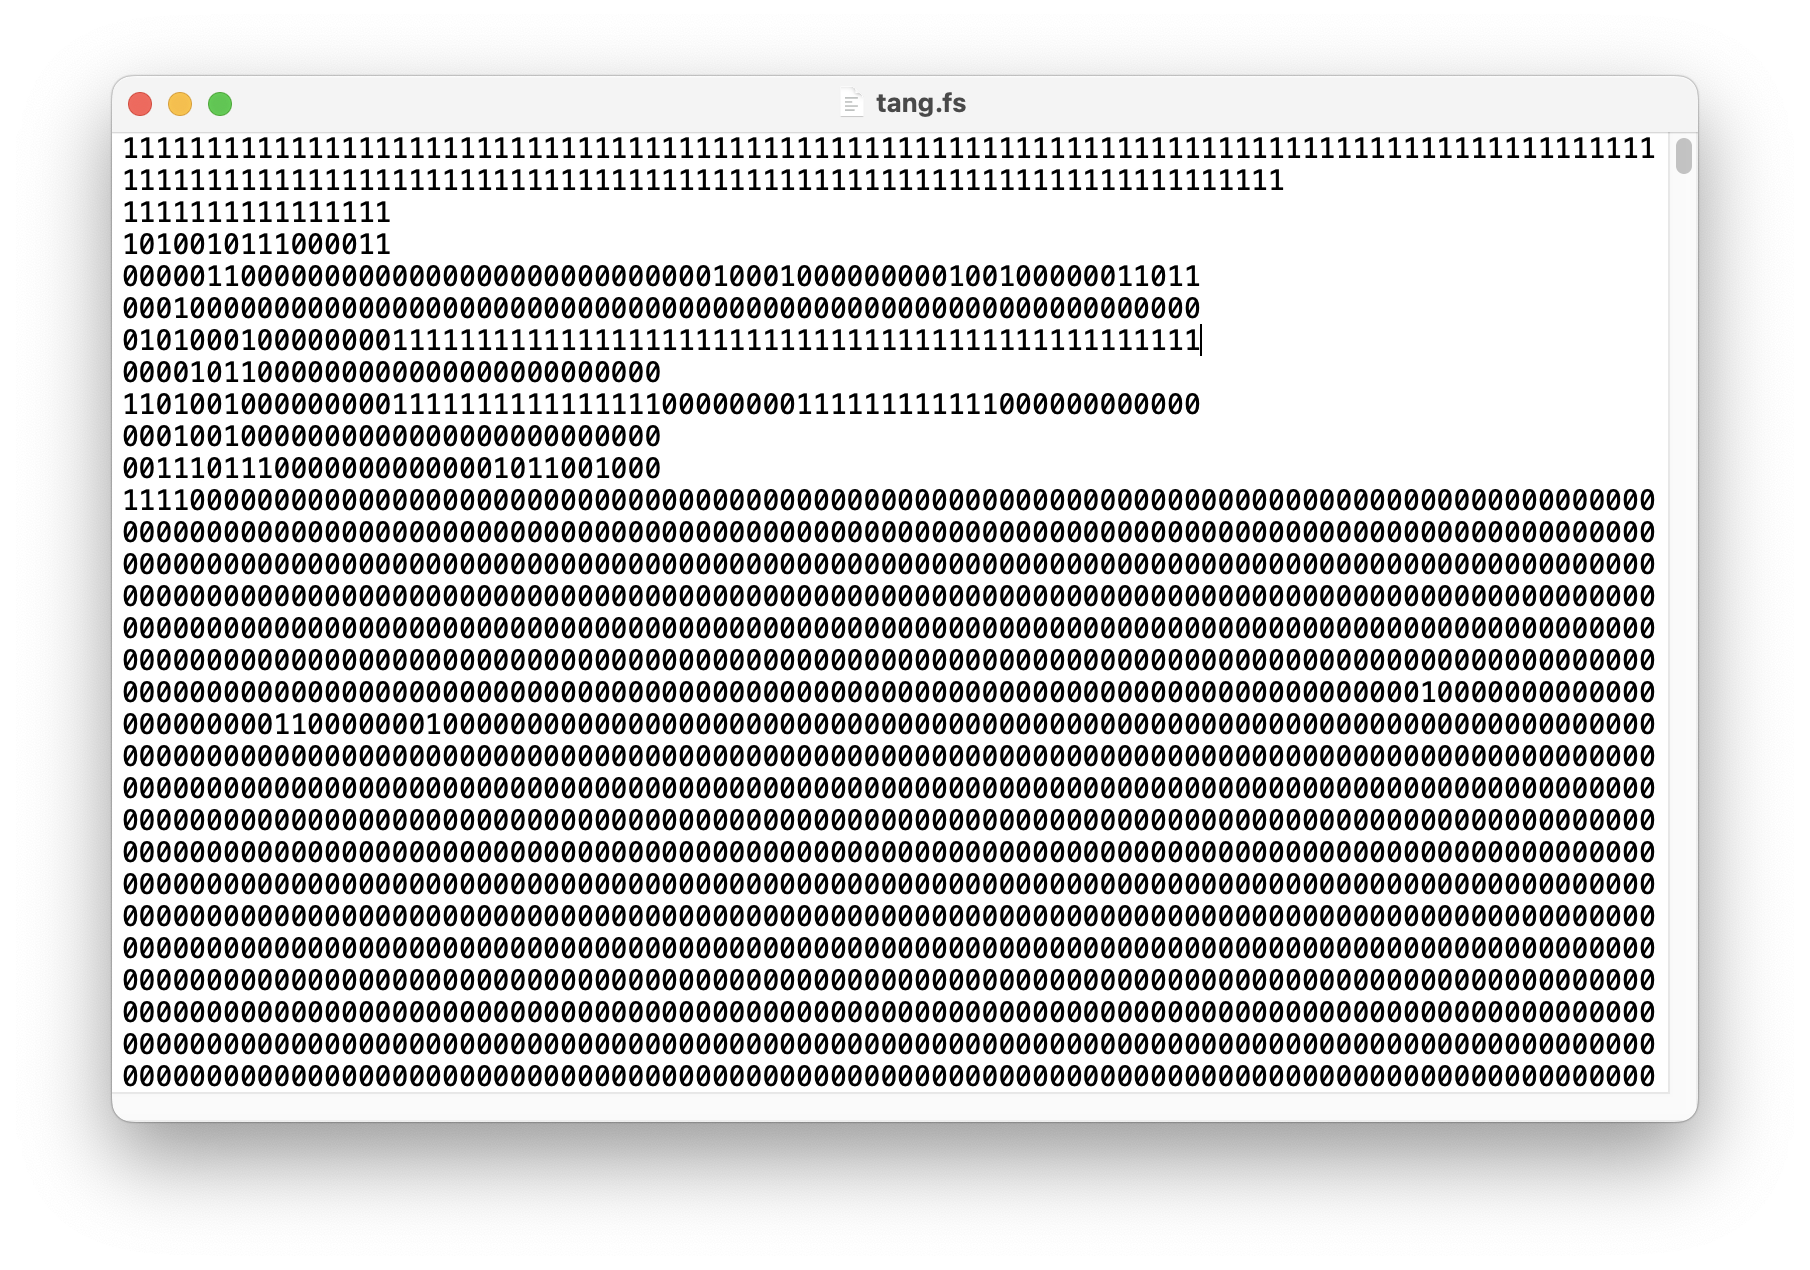
Then through some tools, it is finally converted into a bunch of bits stored in a file, called a bit stream file, to control the connection and work of each part. Different FPGA manufacturers use different file formats. The file suffix used by Tang nano 9K here is .fs, and the content is as follows:
Install and configure tools required
Prerequisite
You need Python 3.8 or newer. Because generating the bitstream requires the use of a Python script. Macs usually pre-install Python, you just need to check and update the version.
Tool chain OSS CAD Suite
Next, you need OSS CAD Suite, which is a tool chain that can convert xxxx.v and xxxx.cst into the final bitstream file (like a compiler or a tool chain in cross-compilation). Finally write this file to the FPGA.
This kit contains many FPGA tools, those directory name or program name with
gowinare what the Tang Nano series needs generally. So in fact, you can just install the tools for the Gowin FPGA chip. However, OSS CAD Suite can be used not only on the terminal, but also on VS Code. Therefore, using OSS CAD Suite is more convenient. If you use other FPGAs, you can reduce the installation effort.
The download link of OSS CAD Suite is:https://github.com/YosysHQ/oss-cad-suite-build/releases/latest
If you encounter the following error when building with the latest OSS CAD Suite, it is recommended to download any version in February or March 2023.
gowin_pack -d GW1N-9C -o rio.fs rio_pnr.json
Traceback (most recent call last):
File "/opt/oss-cad-suite/libexec/gowin_pack", line 33, in
sys.exit(load_entry_point('Apycula==0.8.2a1', 'console_scripts', 'gowin_pack')())
File "/opt/oss-cad-suite/lib/python3.8/site-packages/Apycula-0.8.2a1-py3.8.egg/apycula/gowin_pack.py", line 984, in main
AttributeError: module 'importlib.resources' has no attribute 'files'
make: *** [Makefile:16: rio.fs] Error 1
Then put the path to bin of OSS-CAD-Suite into the environment variable PATH. You can directly put it into your Shell configuration file (such as .bashrc). The statement is as follows:
export PATH="...../oss-cad-suite/bin:$PATH"
Then use source to activate the update or open a new terminal window.
Only install the tool chains required by Gowin FPGA
The Gowin FPGA chip used by Tang Nano, its bitstream and format tools are in the Apicula project, this is the address: https://github.com/YosysHQ/apicula. If you need to read the documentation, it’s also in this project too.
The installation method is as follows:
$ pip3 install apycula
If you want a simple installation, you can use this method. The size of the package downloaded and installed in this way will be much smaller (4.1 MB vs. 1.35 GB), but if you need to use other tools during the development process, you will have to download these tools separately.
Text Editor: VS Code
We will use Visual Studio Code to write code. Of course you can use any text editor to write code, such as Vim, Emacs, etc. However, applications such as Word and Pages cannot be used, because such applications are text processors, rather than editors and don’t use simple text at the bottom.
The main reason for using Visual Studio Code here is the extension will highlight the code, set pins easily and build automatically. The two extensions are Lushay Code and Verilog-HDL/SystemVerilog/Bluespec SystemVerilo.
Lushay Codeis for using OSS-CAD-Suite. IfLushay Codedoes not support your FPGA, please also find extension that supports your FPGA.Verilog-HDL/SystemVerilog/Bluespec SystemVerilois for code highlighting and easy pin setting.
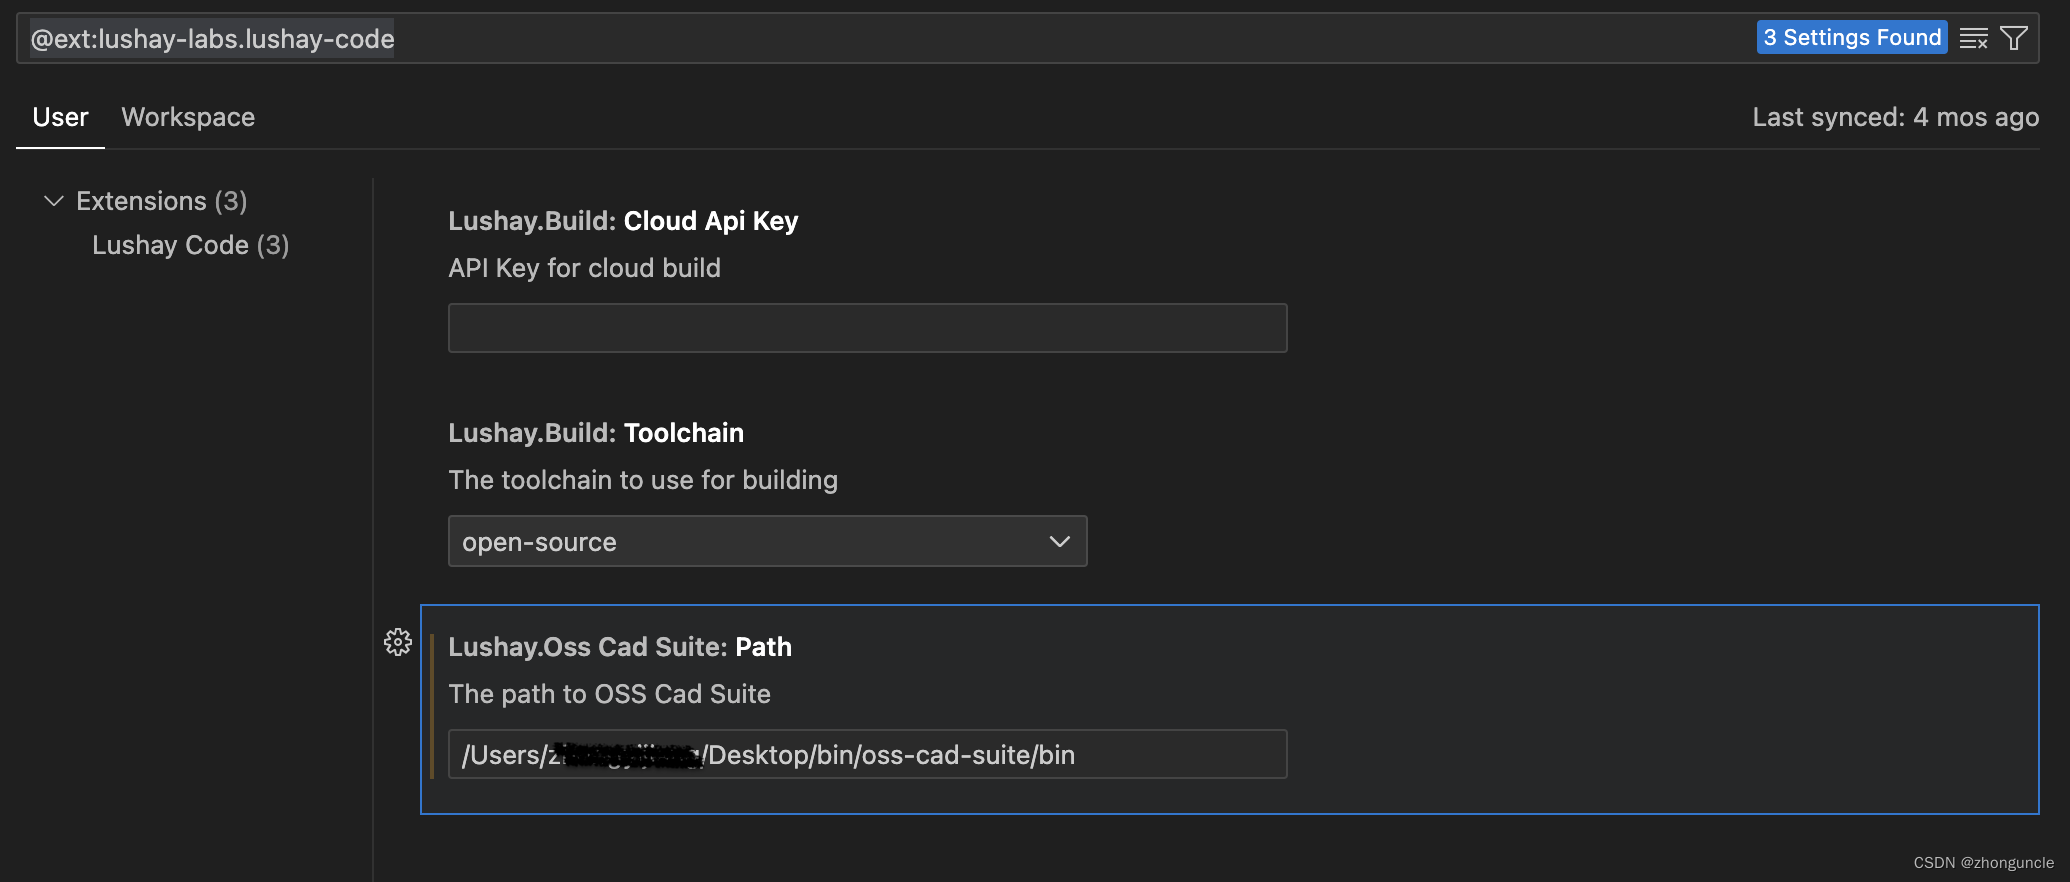
In addition, you need to configure the extension. In “Settings - Extensions”, enter your OSS-CAD-Suite location into highlight area shown below, then VS Code can use OSS-CAD-Suite:
Sample: Make the onboard LEDs light up one by one
There are two files top.v and tangnano9k.cst, the contents as follows (Notice top.v must have a blank line at the end)
// top.v
module top
(
    input clk,
    output [5:0] led
);

localparam WAIT_TIME = 13500000;
reg [23:0] clockCounter = 0;
reg [5:0] cur_state = 6'b111111;	// Each bit represent an onboard LED


always @(posedge clk) begin
    clockCounter <= clockCounter + 1;
    if (clockCounter == WAIT_TIME) begin
        clockCounter <= 0;
            cur_state <= cur_state << 1;
        if (cur_state == 6'b000000) begin
            cur_state <= 6'b111111;
        end
    end
end

assign led[5:0] = cur_state[5:0];

endmodule
// tangnano9k.cst
IO_LOC  "clk" 52;
IO_PORT "clk" PULL_MODE=UP;

IO_LOC  "led[0]" 10;

IO_LOC  "led[1]" 11;

IO_LOC  "led[2]" 13;

IO_LOC  "led[3]" 14;

IO_LOC  "led[4]" 15;

IO_LOC  "led[5]" 16;
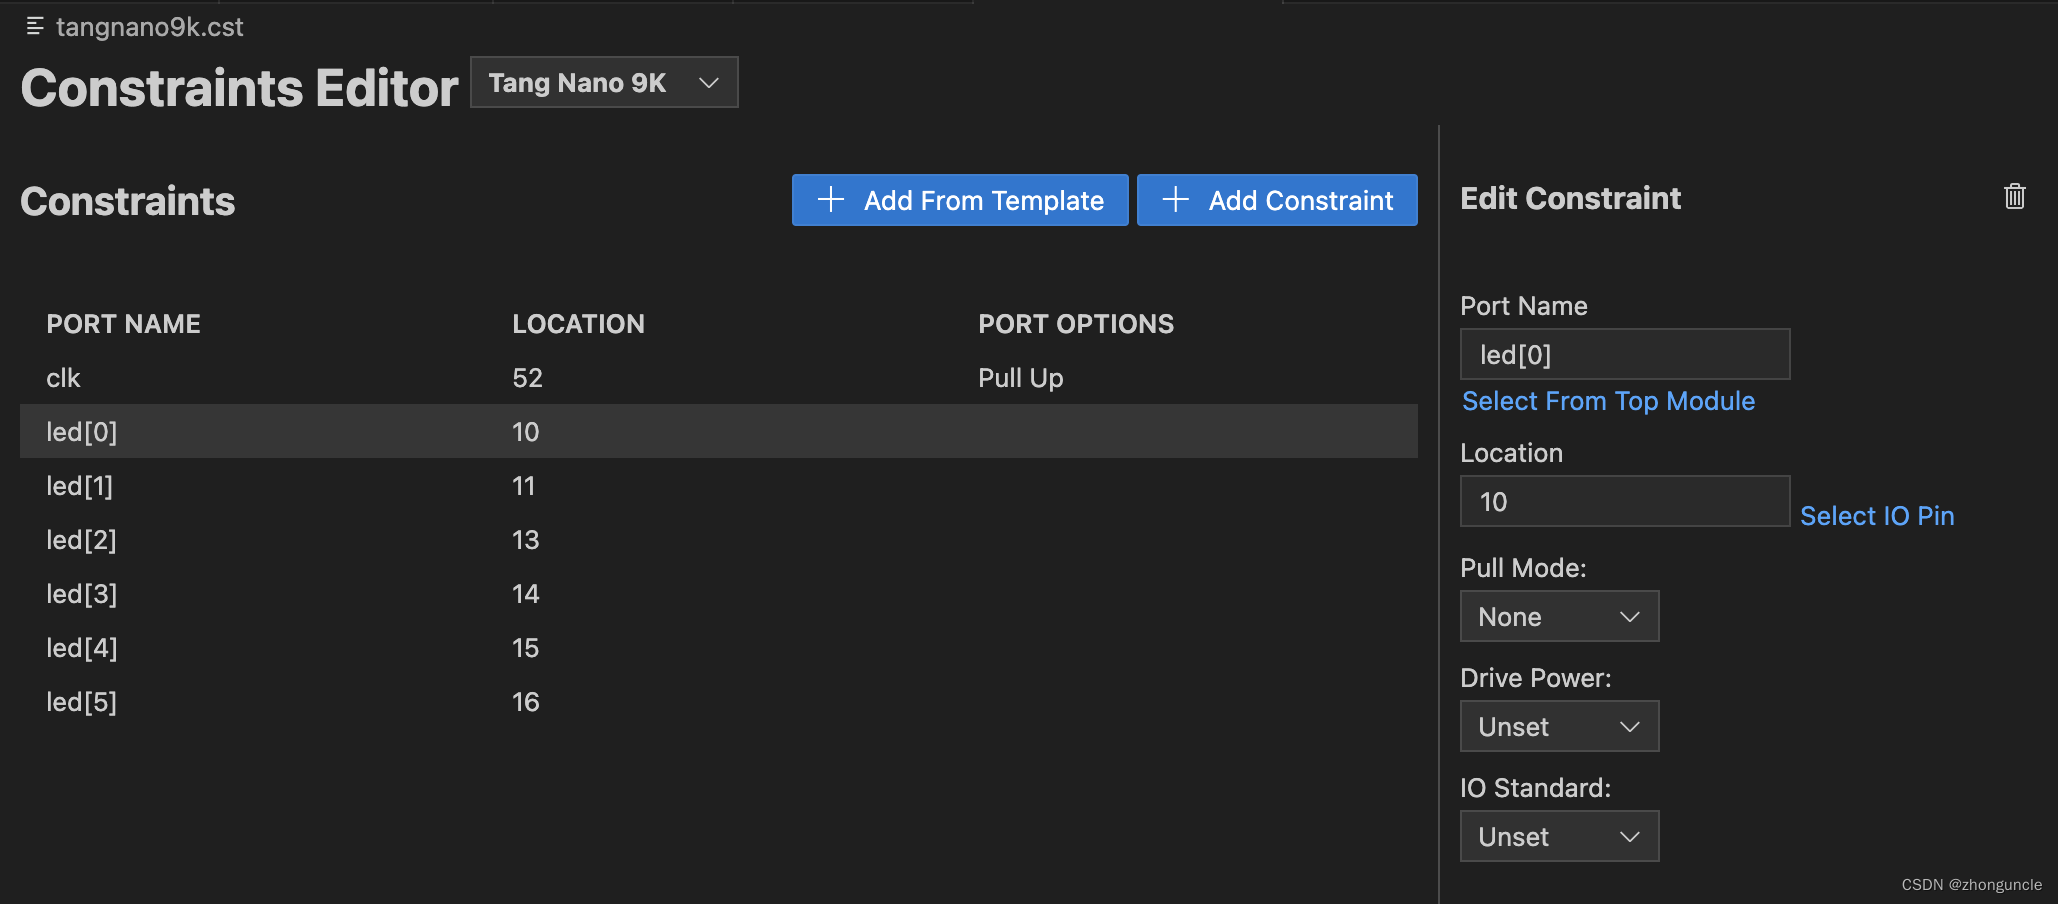
If use VS Code extension to set up tangnano9k.cst, it should be as follows:
Build
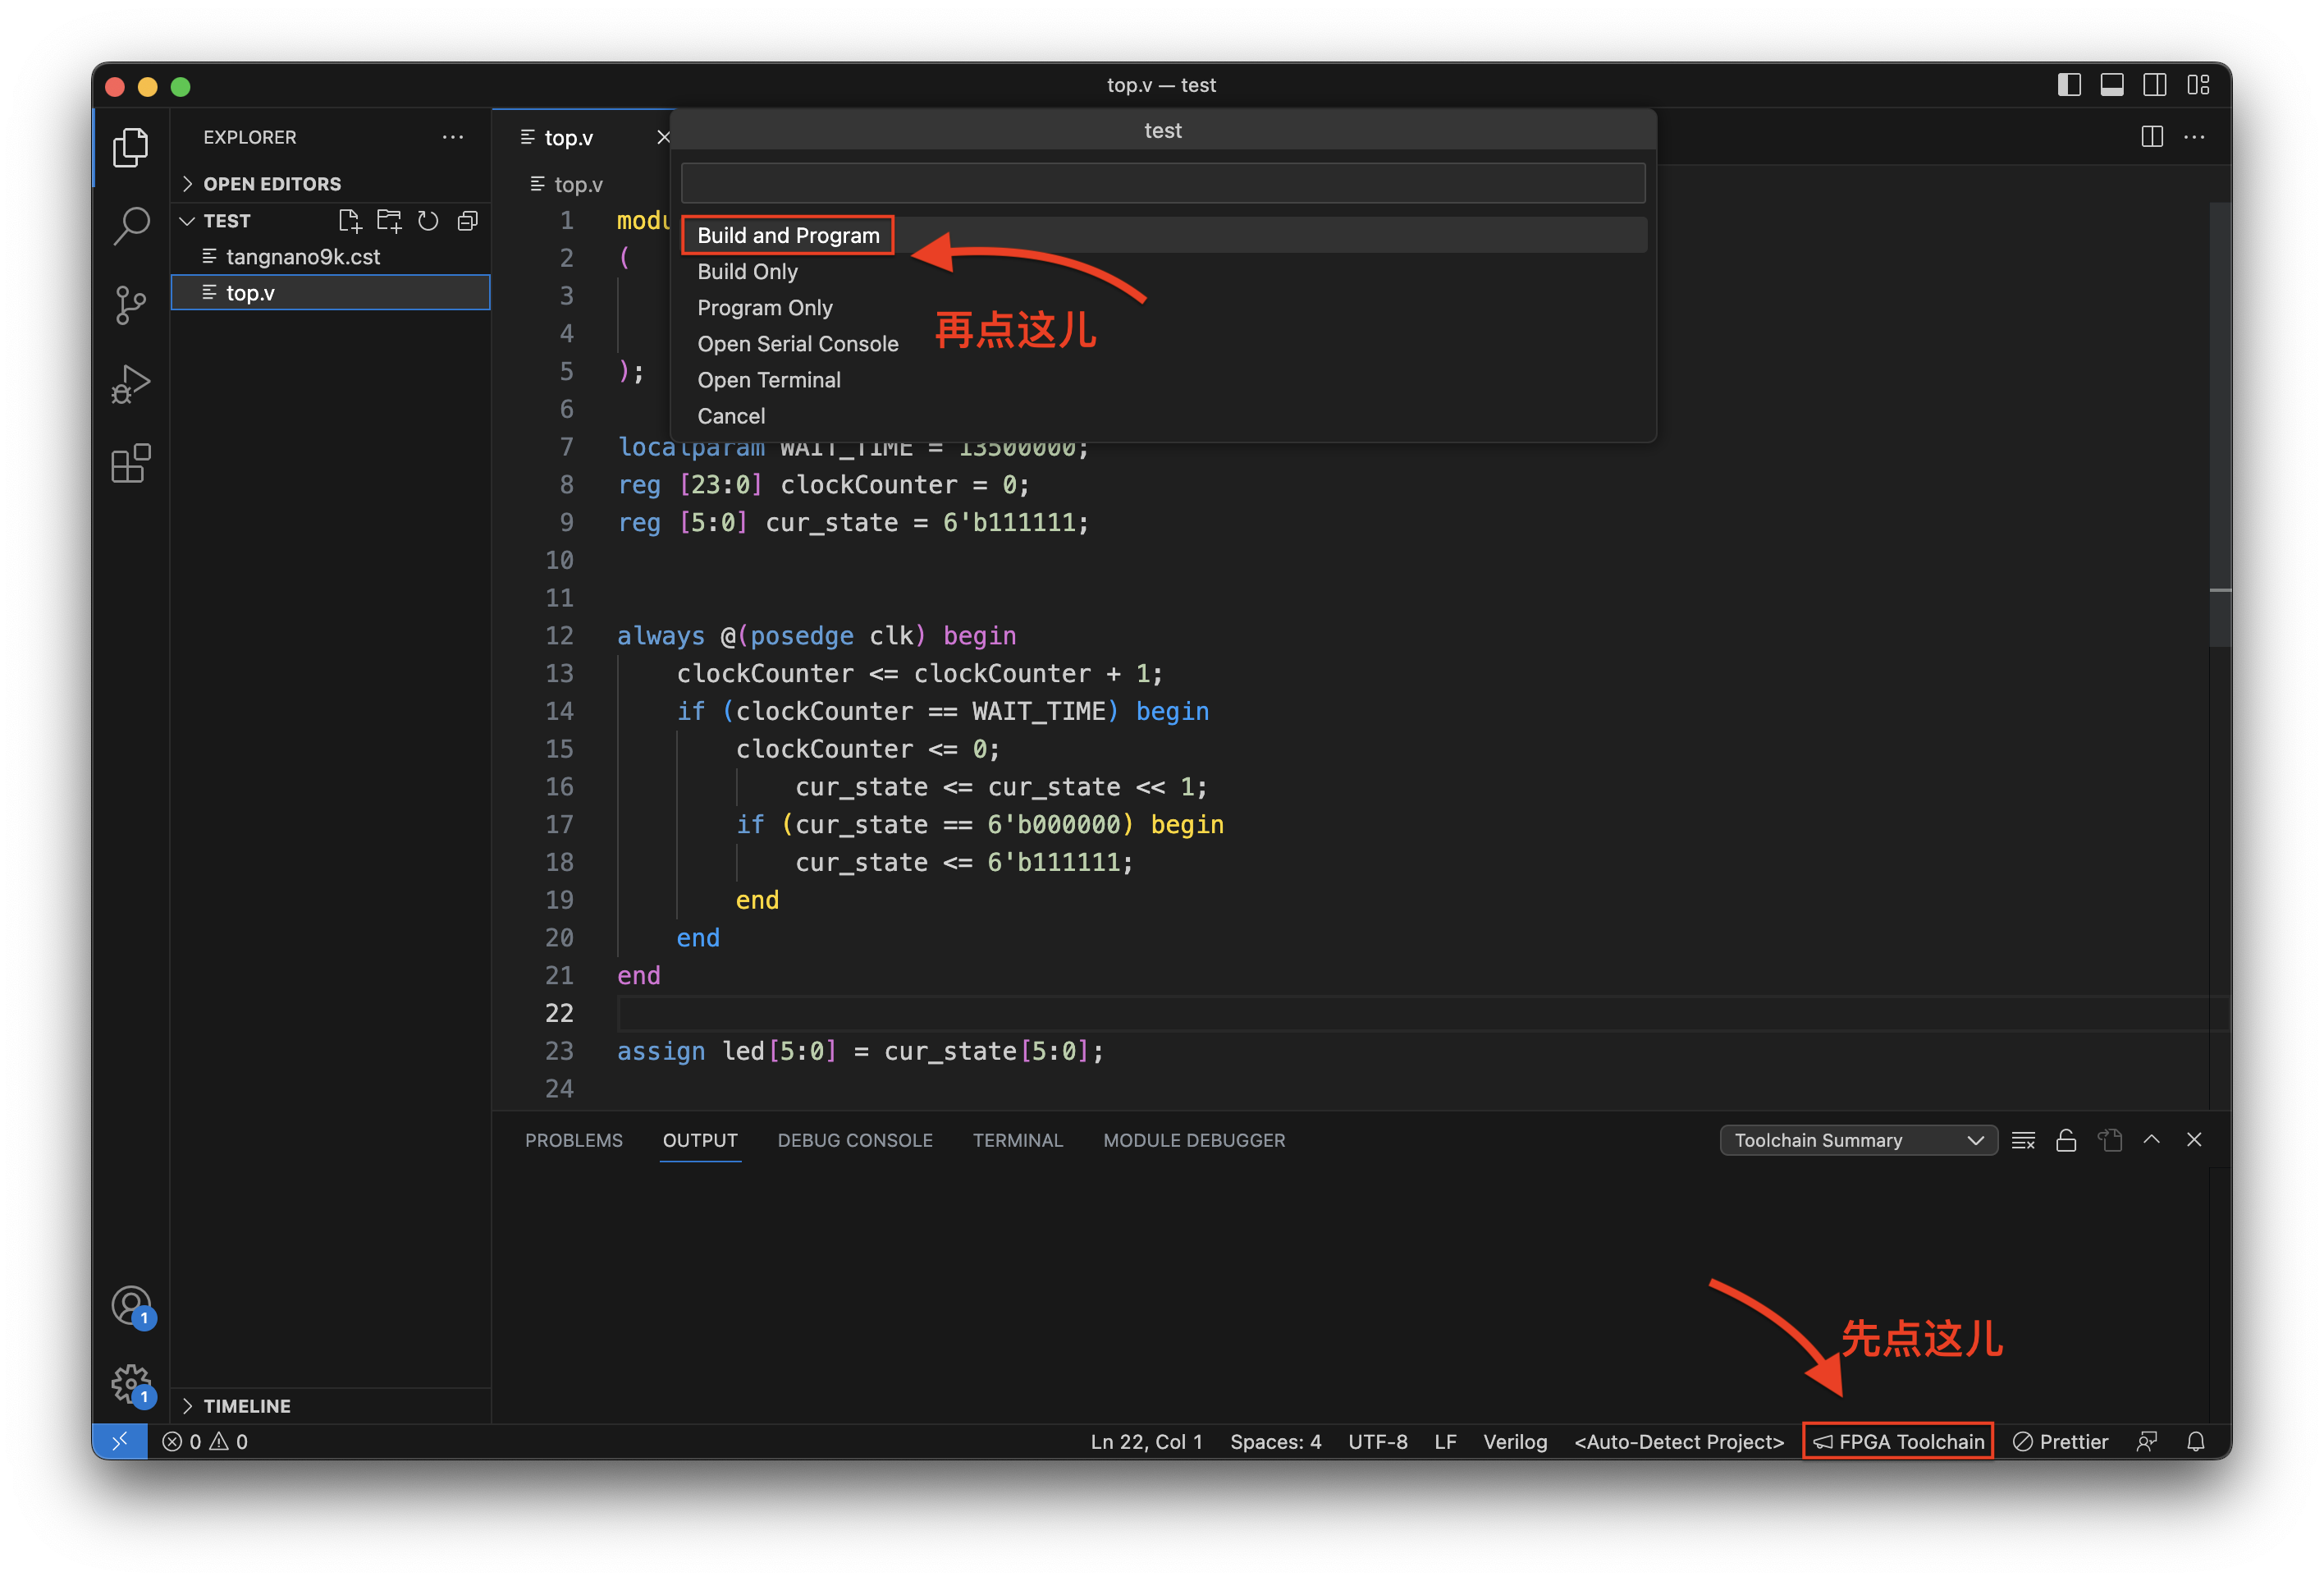
Use VS Code
This method is very simple. If you have configured VS Code and connected your FPGA to your Mac, just click in the order shown below (First bottom, Second top). Wait a while, the fs file will have been built and burned to FPGA:
Build using terminal
This part is divided into two sections. The first section introduces the use and description of each step in detail. The second section organizes it into a script, which is much more convenient.
Step by step
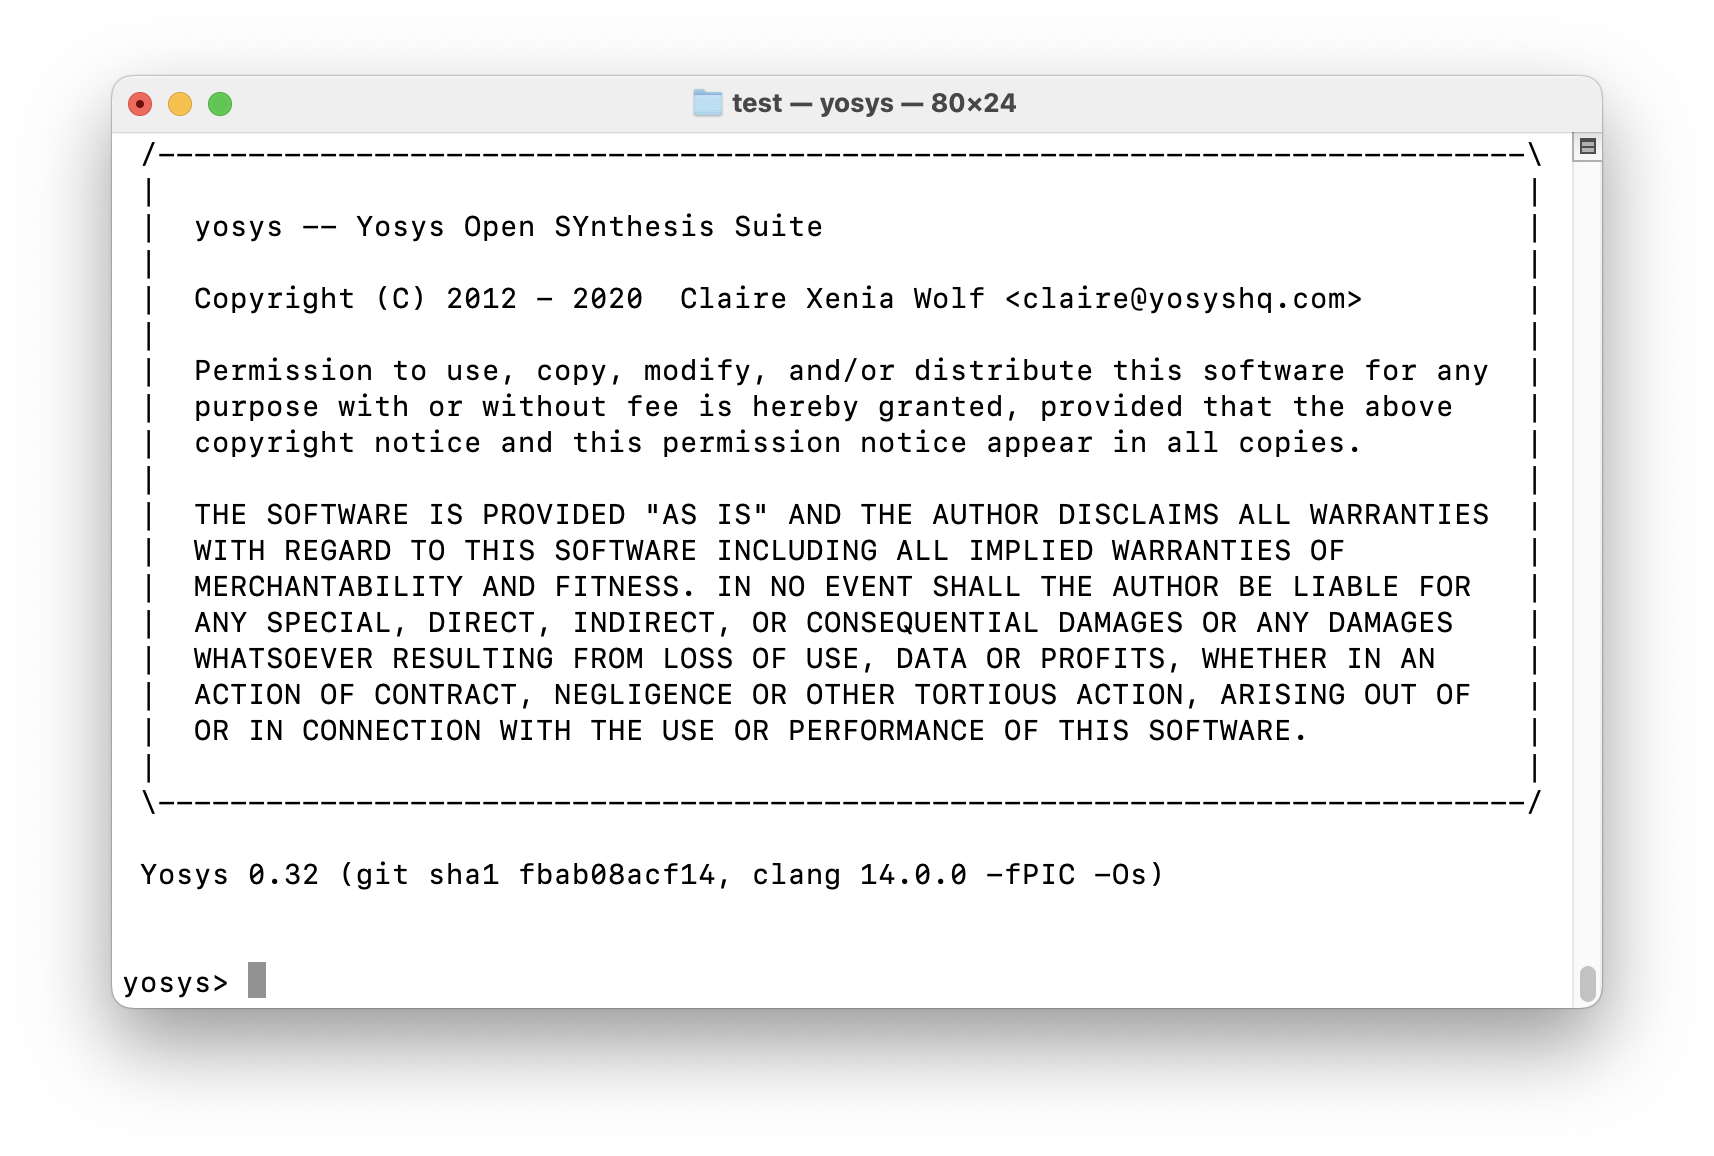
First enter yosys (press and press Enter), the page is as follows:
Then enter the following command:
# Read and analyze the contents of 'top.v'
> read -sv top.v
# Synthesize and convert the contents of 'top.v' into json format (since yosys has already analyzed the file, so the file name 'top.v' will not be used. We will use the module name 'top')
> synth_gowin -top top -json test.json
# exit yosys
> exit
Of course, the above part can be simplified into one command in Shell:
$ yosys -p "read_verilog top.v; synth_gowin -json test.json"
Now use the following commands for further work:
# Generate FPGA layout and routing information by setting the device name, CST file and JSON file just generated, and put these into test_pnr.json.
$ nextpnr-gowin --family GW1N-9C --device GW1NR-LV9QN88PC6/I5 --cst tangnano9k.cst --json test.json --write test_pnr.json
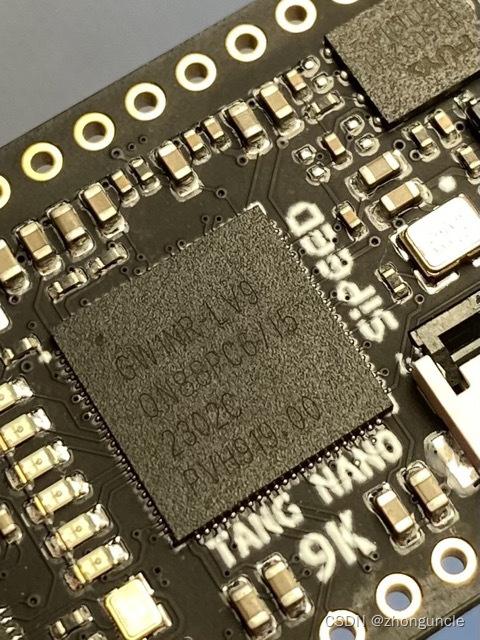
The family name and device name need to be modified according to your FPGA (if it is not Tang nano 9K, you do not need to use the --family option). These names are not the short one on the official website. You can see it on your FPGA chip package. For example, the image below is the device name of Tang nano 9K GW1NR-LV9QN88PC6/I5:
You also can search it from the table below:
| name | device | board |
|---|---|---|
| Trenz TEC0117 | GW1NR-UV9QN881C6/I5 | tec0117 |
| Sipeed Tang Nano: | GW1N-LV1QN48C6/I5 | tangnano |
| Sipeed Tang Nano 1K | GW1NZ-LV1QN48C6/I5 | tangnano1k |
| Sipeed Tang Nano 4K | GW1NSR-LV4CQN48PC7/I6 | tangnano4k |
| Sipeed Tang Nano 9K | GW1NR-LV9QN88PC6/I5 | tangnano9k |
| Seeed RUNBER | GW1N-UV4LQ144C6/I5 | runber |
| @Disasm honeycomb | GW1NS-UX2CQN48C5/I4 | honeycomb |
Next, if you have a Tang nano 9K like me, then use the following command (the device cannot write the long one in table):
$ gowin_pack -d GW1N-9C -o top.fs test_pnr.json
If other Gowin FPGA:
$ gowin_pack -d [device from above table] -o top.fs test_pnr.json
Then burn the bitstream file to FPGA:
openFPGALoader -b [board from above table] pack.fs
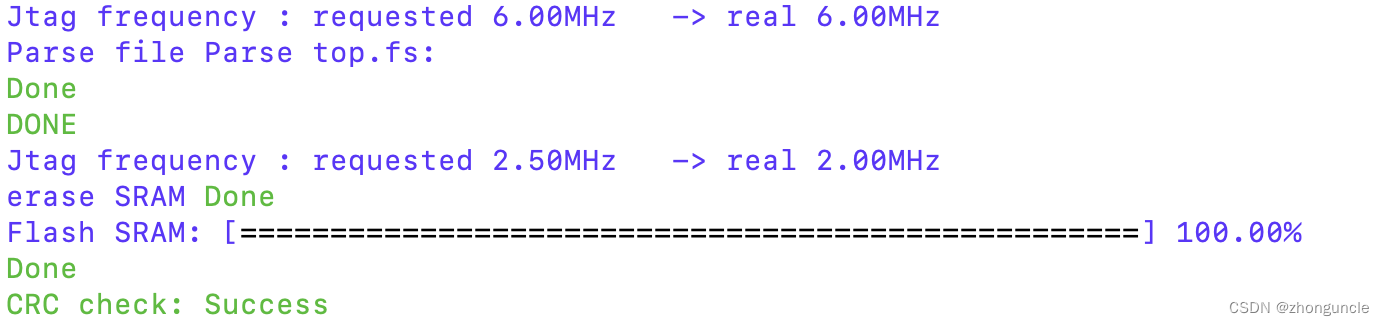
The corresponding board can be seen in the table above. If you see something similar to the following, then the burning is successful:
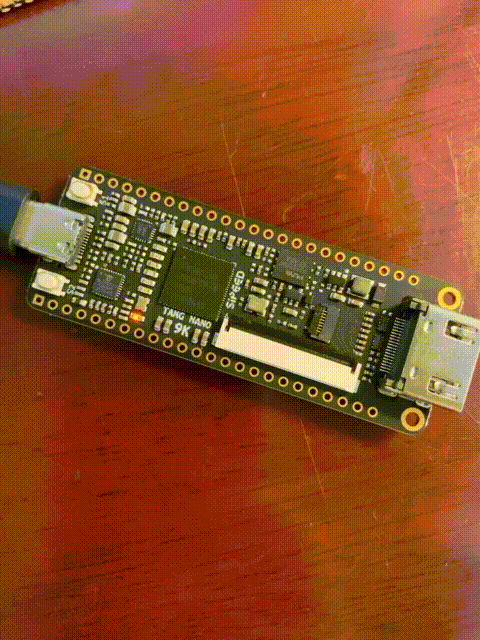
Then you can see FPGA board look like:
Write a script
To get some productivity, we will write it into a script to achieve “one-step generation and burning”. You can modify it according to your own model.
Create a new blank text file build.sh and type:
#!/bin/bash

DEVICE='GW1NR-LV9QN88PC6/I5|tangnano9k'
BOARD='tangnano9k'

yosys -p "read_verilog top.v; synth_gowin -json temp.json"
nextpnr-gowin --family GW1N-9C --device GW1NR-LV9QN88PC6/I5 --cst tangnano9k.cst --json temp.json --write test_pnr.json
gowin_pack -d GW1N-9C -o top.fs test_pnr.json
openFPGALoader -b $BOARD top.fs
Then use the following command to grant execute permission:
$ chmod +x build.sh
Now you can just use ./build.sh to build and burn.
Further reading
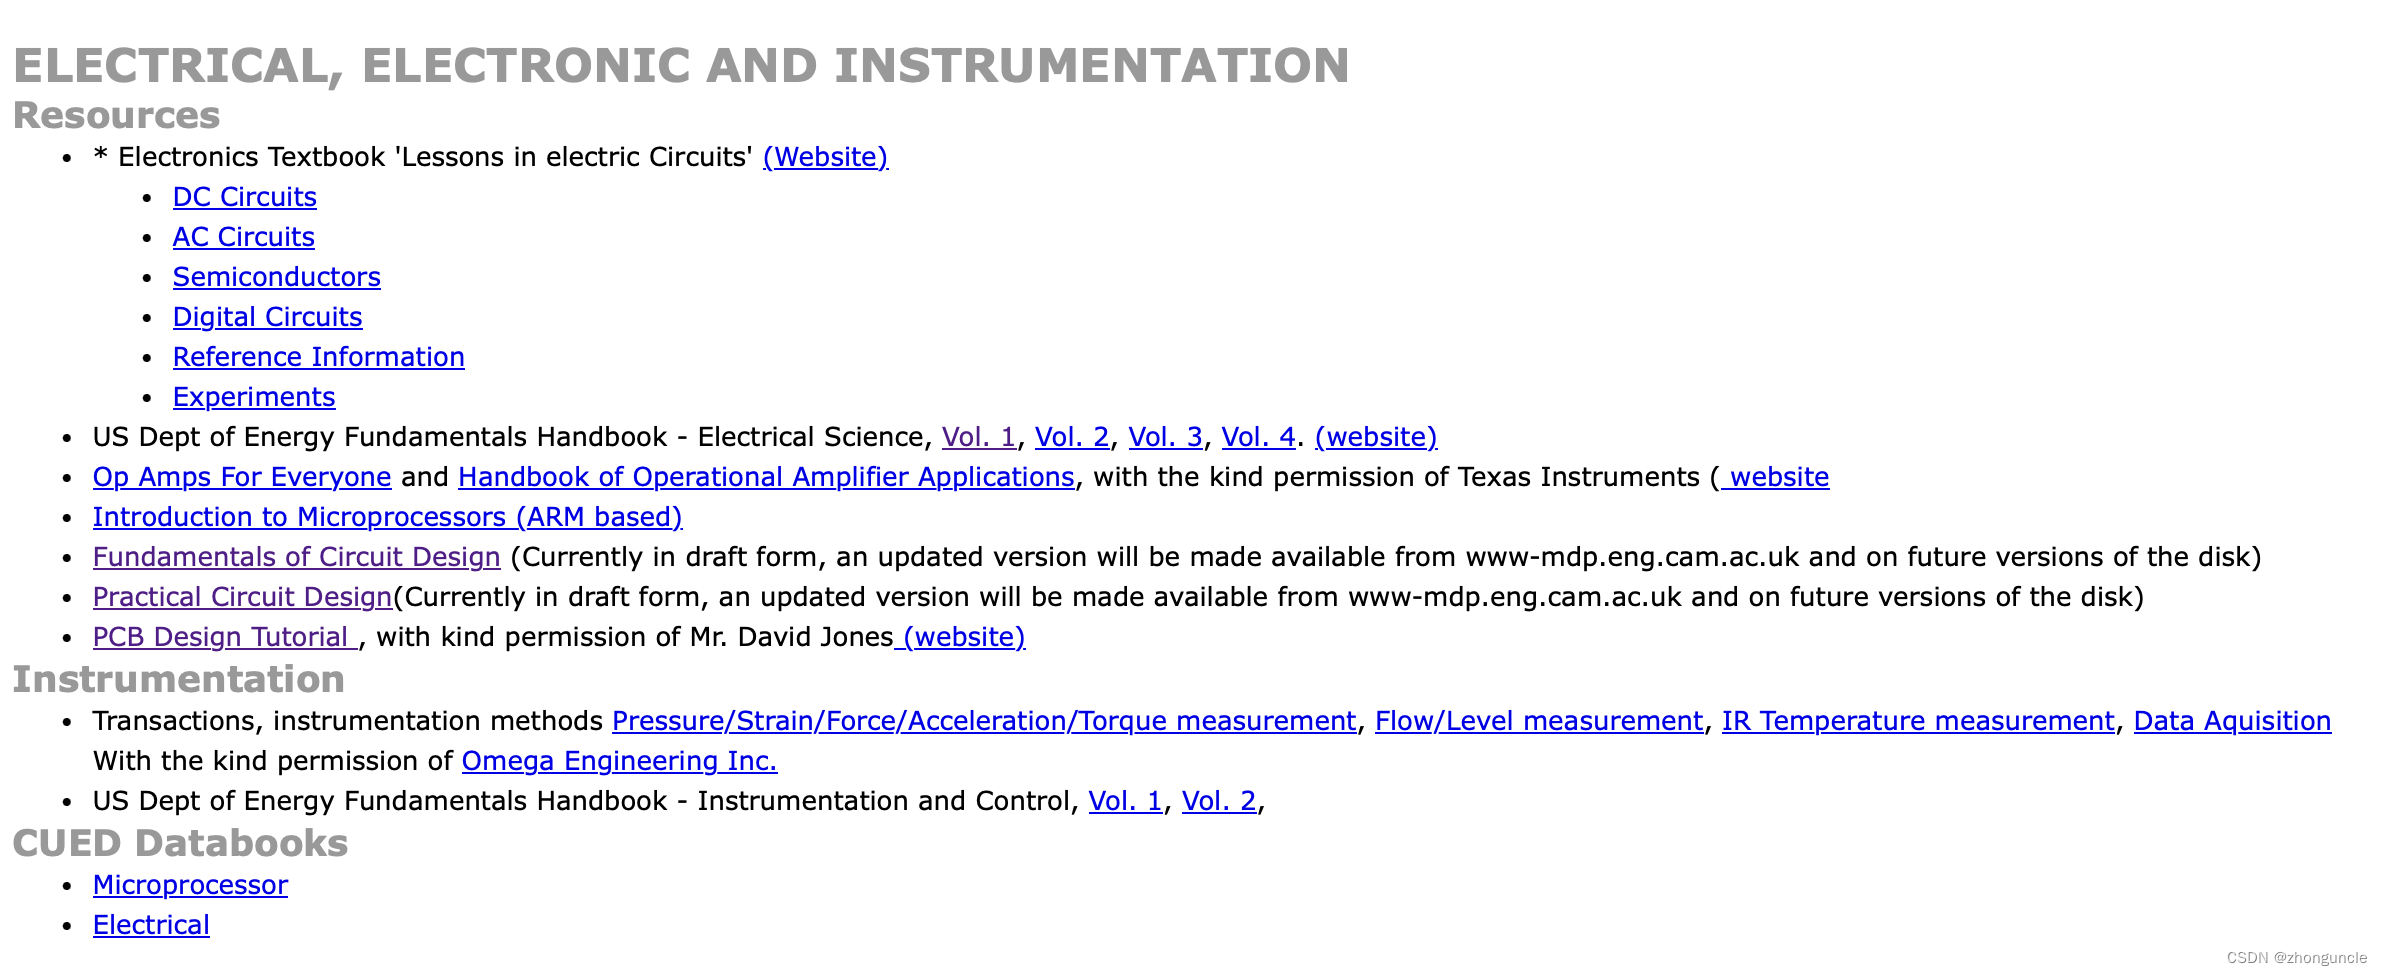
FPGA is a branch of digital electronics. During the learning process of FPGA, you need to understand many digital electronics terms and concepts, so you can use professional books on digital electronics as start and will also be helpful for subsequent learning. I recommand materials from the University of Cambridge:
This information is good for people who are not majoring in digital electronics. Many knowledge are not difficult. You maybe have learned them in middle and high schools. For me, the main reason is that the Soviet-style symbols were used in middle schools, but most of the materials use American symbols or current national standard symbols.
If you’re new to FPGAs like me, some FPGA terms may be confusing. For example, what is Verilog, what is a hard IP. For these FPGA terms and concepts, I recommend reading a book “FPGAs for Dummies” jointly published by Intel. The cover of “FPGAs for Dummies” As shown below:
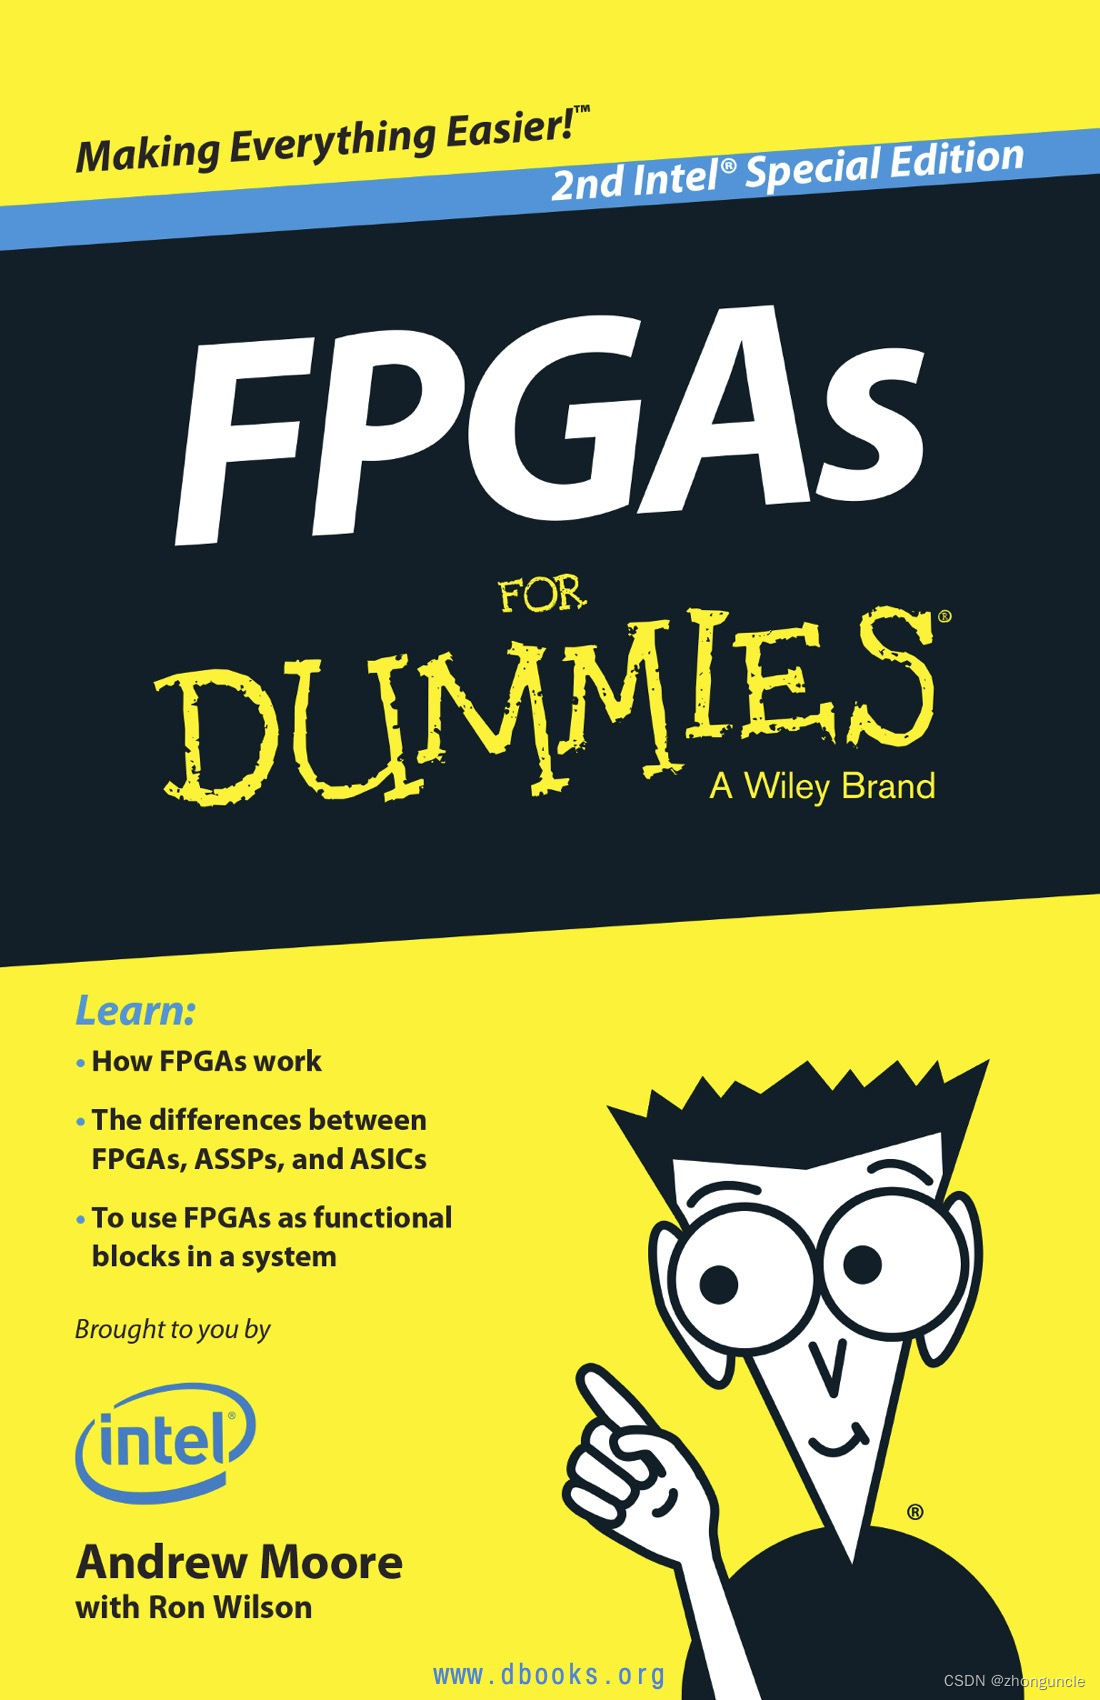
This book uses a very relaxed language to introduce the terminology, language, design ideas, development history, applications and other aspects of knowledge you need to prepare to enter the FPGA field. It also talks about the most basic question: why you should use FPGA.
“XXX FOR DUMMIES” is a series of books dedicated to introducing technology in humorous and simple language, similar to “Learning XXX in Ten Minutes”, but some authors are very powerful in the industry. This series is not from Intel, but the FPGA is a collaboration with Intel.
About Tang Nano 9K, there are also very good blogs, which introduce many cases and usages. The Lushay Code plug-in mentioned above was made by them: https://learn.lushaylabs.com/getting-setup- with-the-tang-nano-9k/
There are somoe codes and documents of YosysHQ projects, such as those mentioned above:
- OSS CAD Suite:https://github.com/YosysHQ/oss-cad-suite-build
- Project Apicula:https://github.com/YosysHQ/apicula
- nextpnr:https://github.com/YosysHQ/nextpnr
I hope these will help someone in need~