Formatting C/C++ Code in VS Code: Presets, Key-Value Pairs, and .clang-format Configuration
Microsoft’s official C/C++ extension for VS Code offers features like syntax highlighting, library recognition, and—most importantly for this article—code formatting. Code formatting automatically adjusts your code to follow a specific standard, making it easier to read. In many large projects, formatting code to meet project standards is required before submission (though some projects use custom formatters, which we won’t discuss here).
However, the default formatting may not meet your needs. While you could spend time writing a ClangFormat configuration file (since VS Code uses ClangFormat under the hood), most people don’t need such depth—they only want to tweak a few parameters. For that reason, we’ll cover the configuration file method last.
Settings Location
First, you need to know where to adjust the formatting settings. Go to the extension’s settings and look for the “Formatting” section:
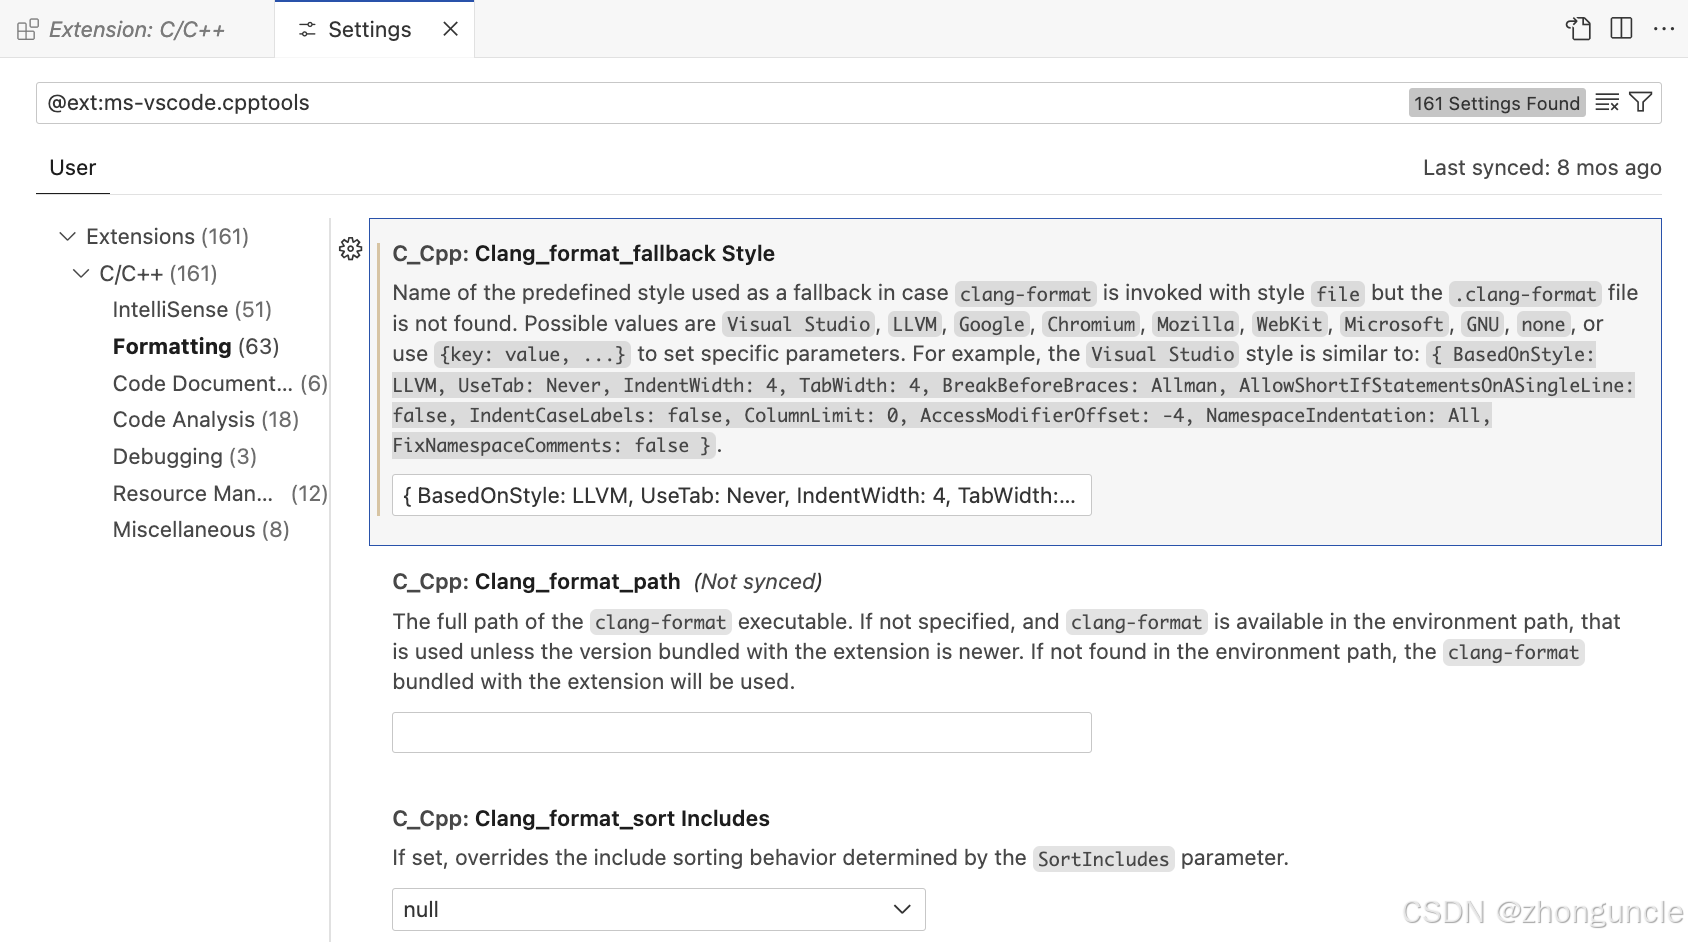
Here, you’ll find three ways to configure code formatting:
- Presets: Includes
Visual Studio(default),LLVM,Google,Chromium,Mozilla,WebKit,Microsoft,GNU, andnone. - Key-Value Pairs: A more granular approach using
{key: value, ...}to adjust specific parameters (builds on presets). - .clang-format Configuration File: VS Code uses this if it exists; otherwise, it falls back to the extension’s settings.
Below, we’ll explain the differences and details of each method.
Demo Code
We’ll use the following messy code to demonstrate formatting changes—it’s short and clearly shows the impact of different settings:
#include <iostream>

int main() {
for (int i = 0; i < 5; ++i) {std::cout << i << " ";
}return 0;
}
1. Presets
We’ll only cover the most commonly used presets—feel free to experiment with the others on your own.
Visual Studio (Default)
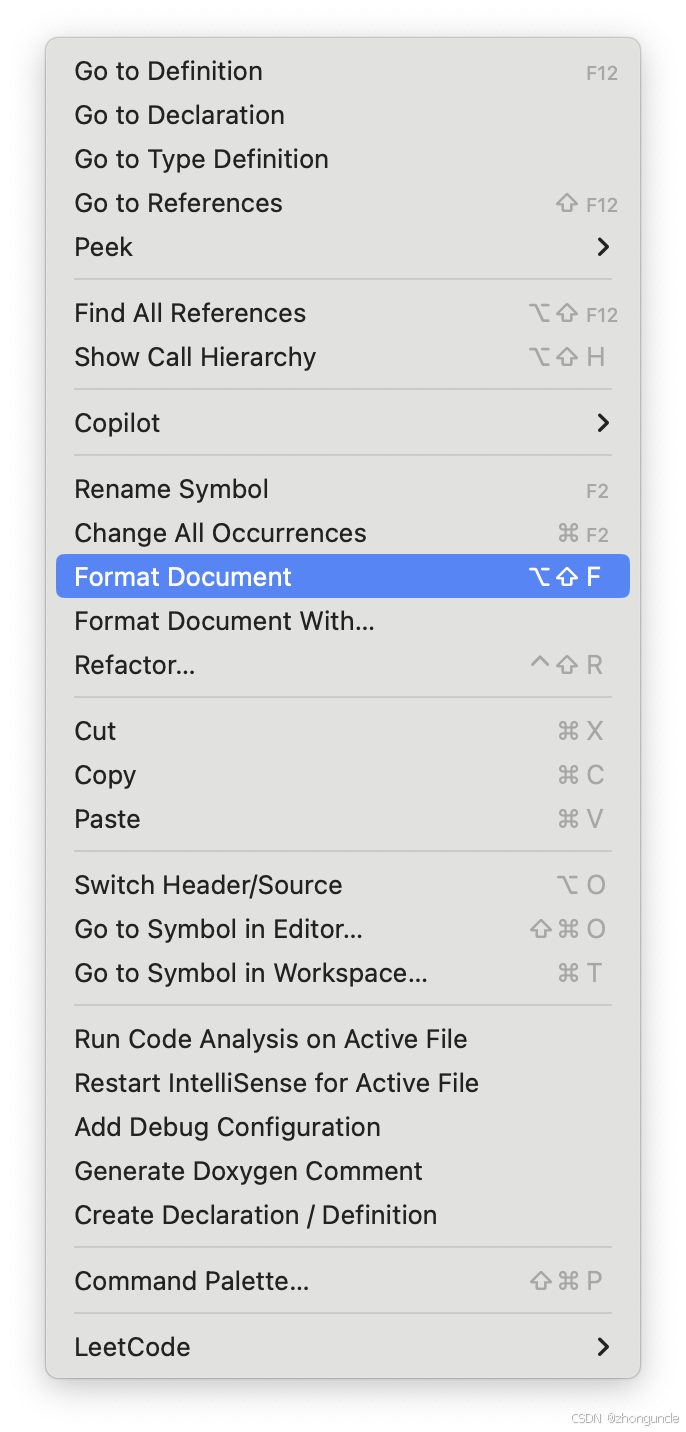
The default preset is Visual Studio. To format the entire document:
- Right-click in the editor.
- Select “Format Document” (as shown below):
Formatted result:
#include <iostream>

int main()
{
    for (int i = 0; i < 5; ++i)
    {
        std::cout << i << " ";
    }
    return 0;
}
Key features:
- 4-space indentation.
- Braces on new lines (known as Allman style or BSD style in ClangFormat).
LLVM
Using the LLVM preset:
#include <iostream>

int main() {
  for (int i = 0; i < 5; ++i) {
    std::cout << i << " ";
  }
  return 0;
}
Key features:
- Braces on the same line as the statement.
- Only 1-space indentation (not recommended for readability).
Even though Clang and its tools are developed by LLVM, LLVM has its own formatting defaults—this preset is not recommended for most projects.
GNU
The GNU preset has a unique style:
#include <iostream>

int
main ()
{
  for (int i = 0; i < 5; ++i)
    {
      std::cout << i << " ";
    }
  return 0;
}
Key features:
- 2-space indentation.
- Braces on new lines.
- Function names split onto separate lines (unconventional for most modern C/C++ projects).
A Note on Indentation
Let’s dive deeper into indentation—relevant here because GNU is closely tied to Linux, and VS Code lacks a Linux-specific preset:
- For most languages, 2 or 4 spaces provide the best readability.
- While “indentation” and “Tab” are technically different, they are often used interchangeably. To understand this, you need to grasp the concept of a “tab stop”—see my blog post: What is a tab stop? - ZhongUncle’s CSDN
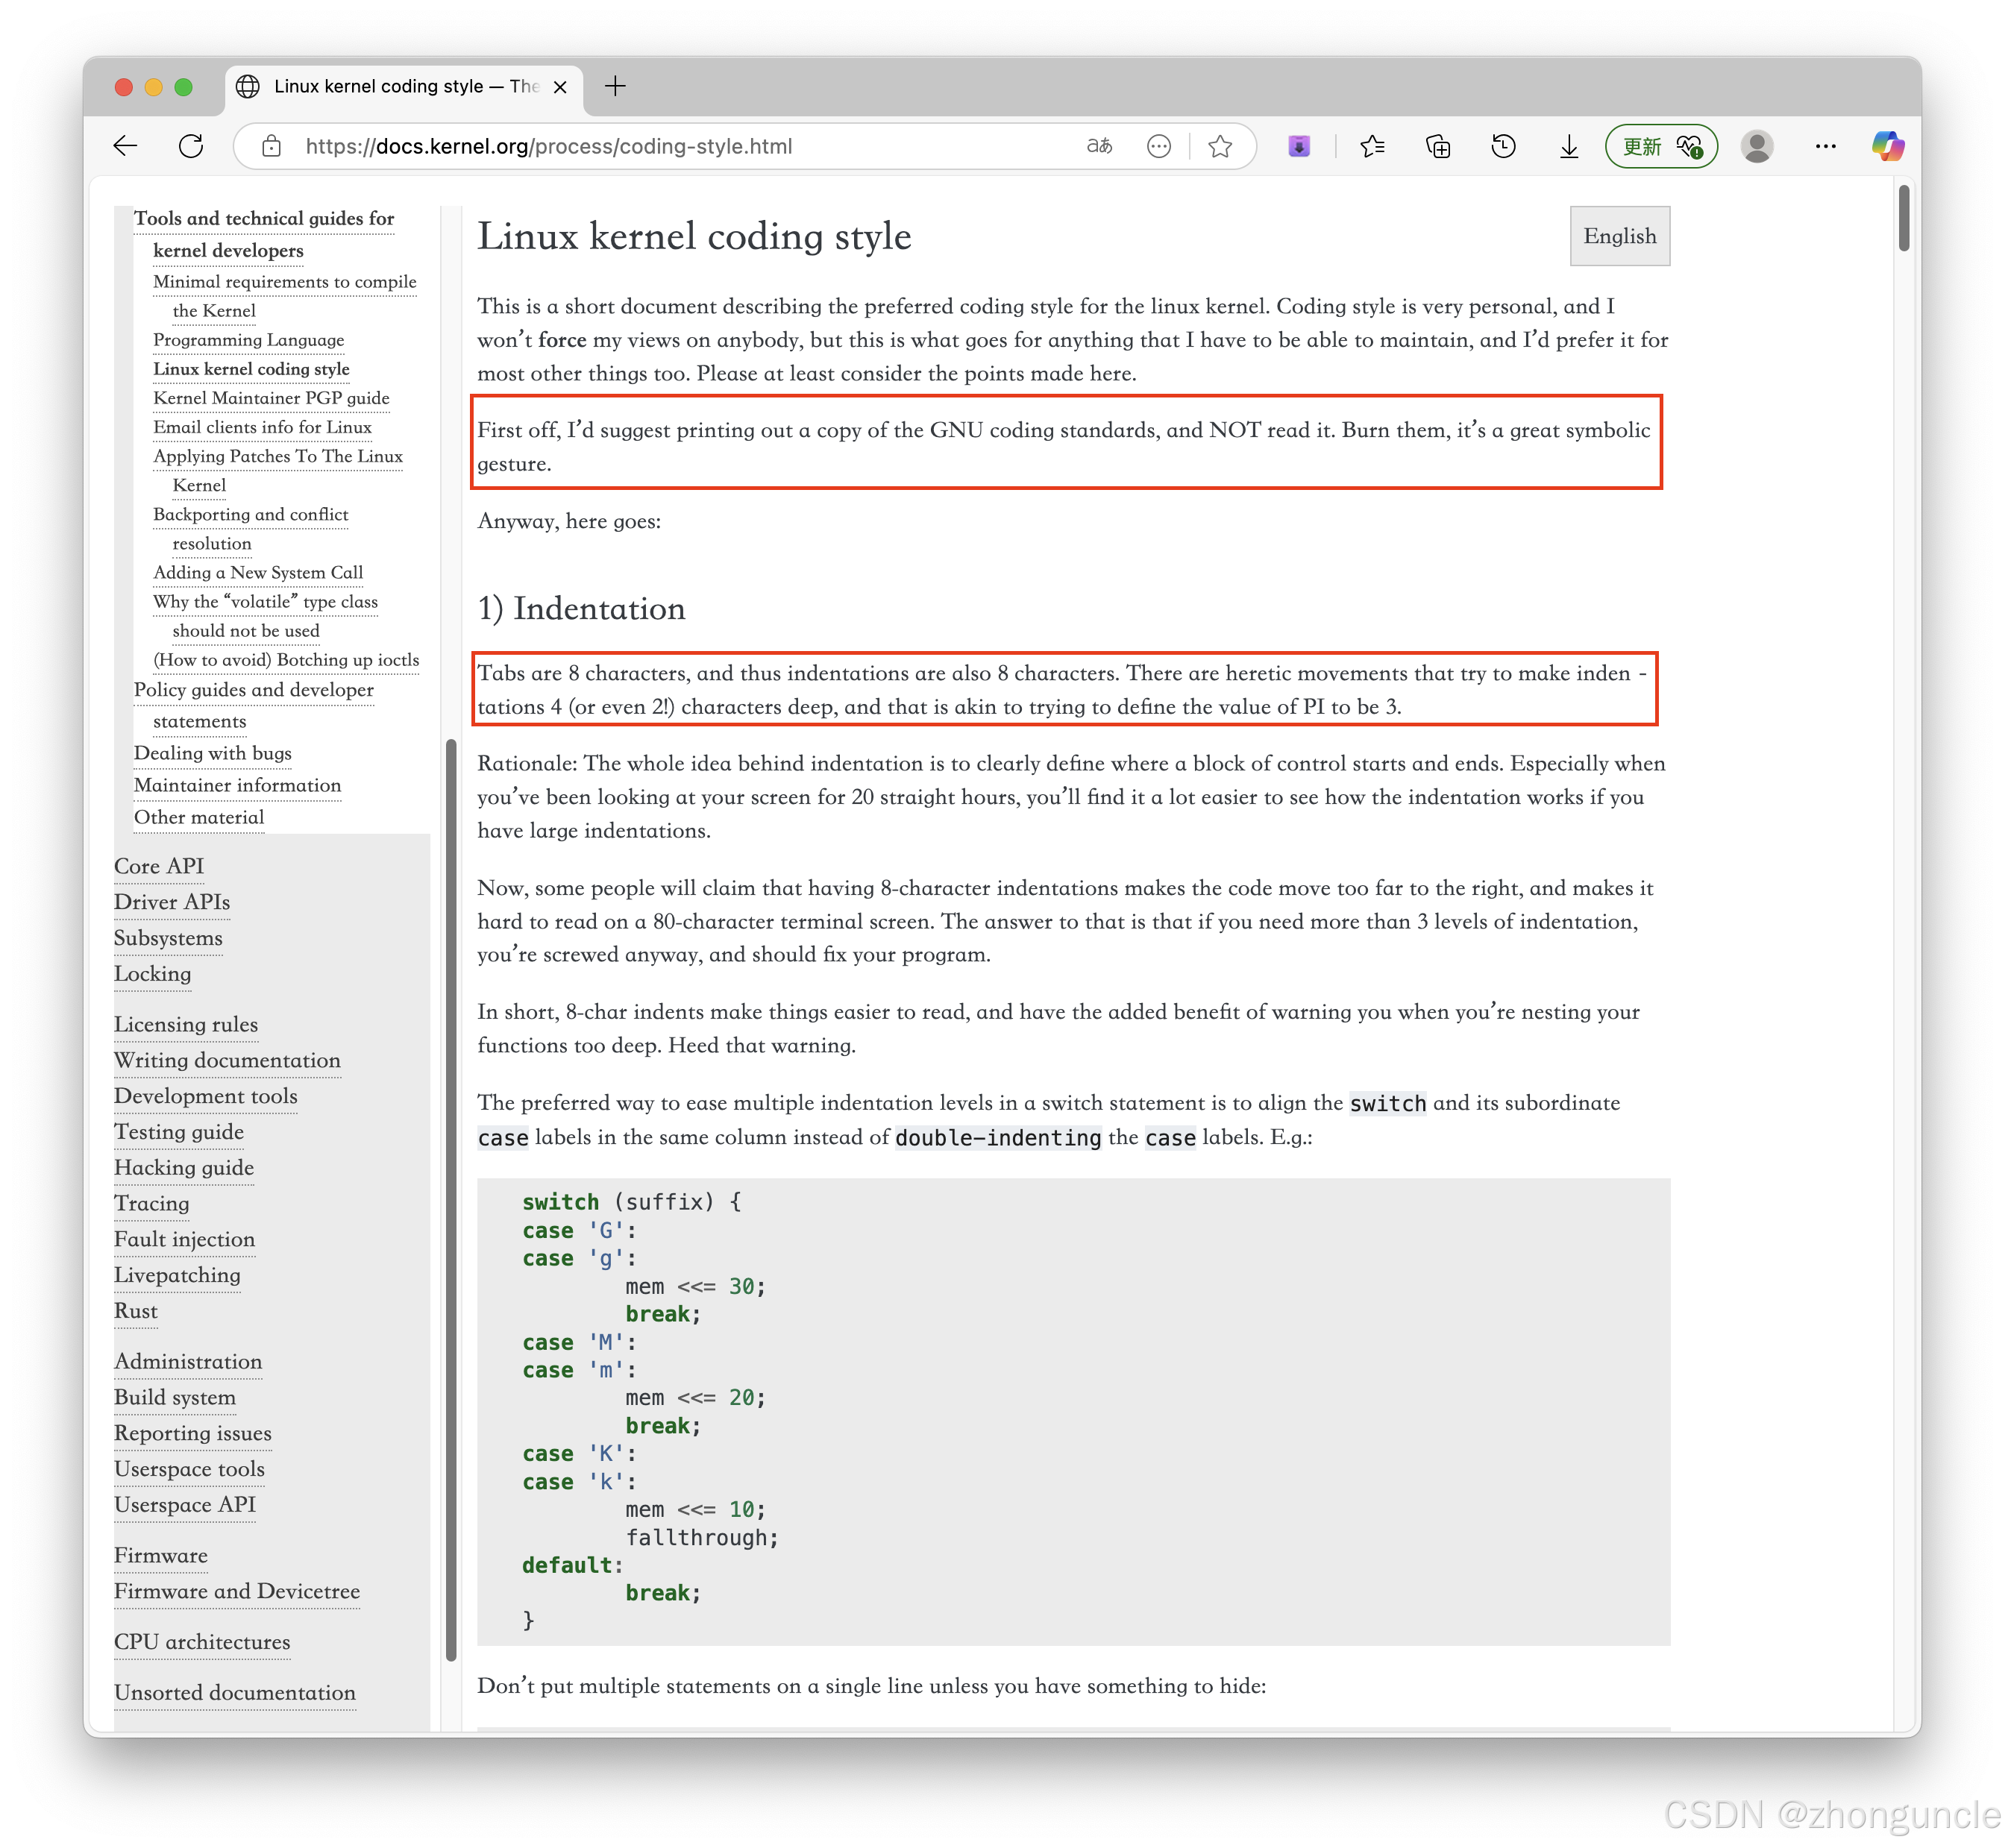
- Linus Torvalds (creator of Linux) advocates for 8-space indentation, calling 4 or 2 spaces “heretical”—a very traditional view (Vim defaults to 8 spaces). From the Linux kernel documentation (root/Documentation/process/coding-style.rst):
Tabs are 8 characters, and thus indentations are also 8 characters. There are heretic movements that try to make indentations 4 (or even 2!) characters deep, and that is akin to trying to define the value of PI to be 3.
- 3 spaces is also a viable middle ground (not too many, not too few)—we’ll see an example later.
The Google preset is similar to LLVM:
#include <iostream>

int main() {
  for (int i = 0; i < 5; ++i) {
    std::cout << i << " ";
  }
  return 0;
}
Key features:
- Braces on the same line as the statement.
- 2-space indentation (more readable than LLVM’s 1-space).
That covers the main presets—let’s move to more customizable options.
2. Key-Value Pairs
The extension’s settings provide a sample key-value pair configuration:
{
    BasedOnStyle: LLVM,
    UseTab: Never,
    IndentWidth: 4,
    TabWidth: 4,
    BreakBeforeBraces: Allman,
    AllowShortIfStatementsOnASingleLine: false,
    IndentCaseLabels: false,
    ColumnLimit: 0,
    AccessModifierOffset: -4,
    NamespaceIndentation: All,
    FixNamespaceComments: false
}
To improve readability, we’ve formatted it with line breaks:
{
BasedOnStyle: LLVM,
UseTab: Never,
IndentWidth: 4,
TabWidth: 4,
BreakBeforeBraces: Allman,
AllowShortIfStatementsOnASingleLine: false,
IndentCaseLabels: false,
ColumnLimit: 0,
AccessModifierOffset: -4,
NamespaceIndentation: All,
FixNamespaceComments: false
}
This configuration builds on the LLVM preset and overrides specific parameters. Let’s test it:
Formatted result:
#include <iostream>

int main()
{
    for (int i = 0; i < 5; ++i)
    {
        std::cout << i << " ";
    }
    return 0;
}
Compared to the default LLVM preset, the indentation is now 4 spaces (controlled by these lines):
IndentWidth: 4,
TabWidth: 4,
To move braces back to the same line as the statement, change BreakBeforeBraces to Attach:
BreakBeforeBraces: Attach,
Updated result:
#include <iostream>

int main() {
    for (int i = 0; i < 5; ++i) {
        std::cout << i << " ";
    }
    return 0;
}
We won’t cover all parameters here (we don’t want to repeat the official documentation). For a complete list of options, see Clang-Format Style Options.
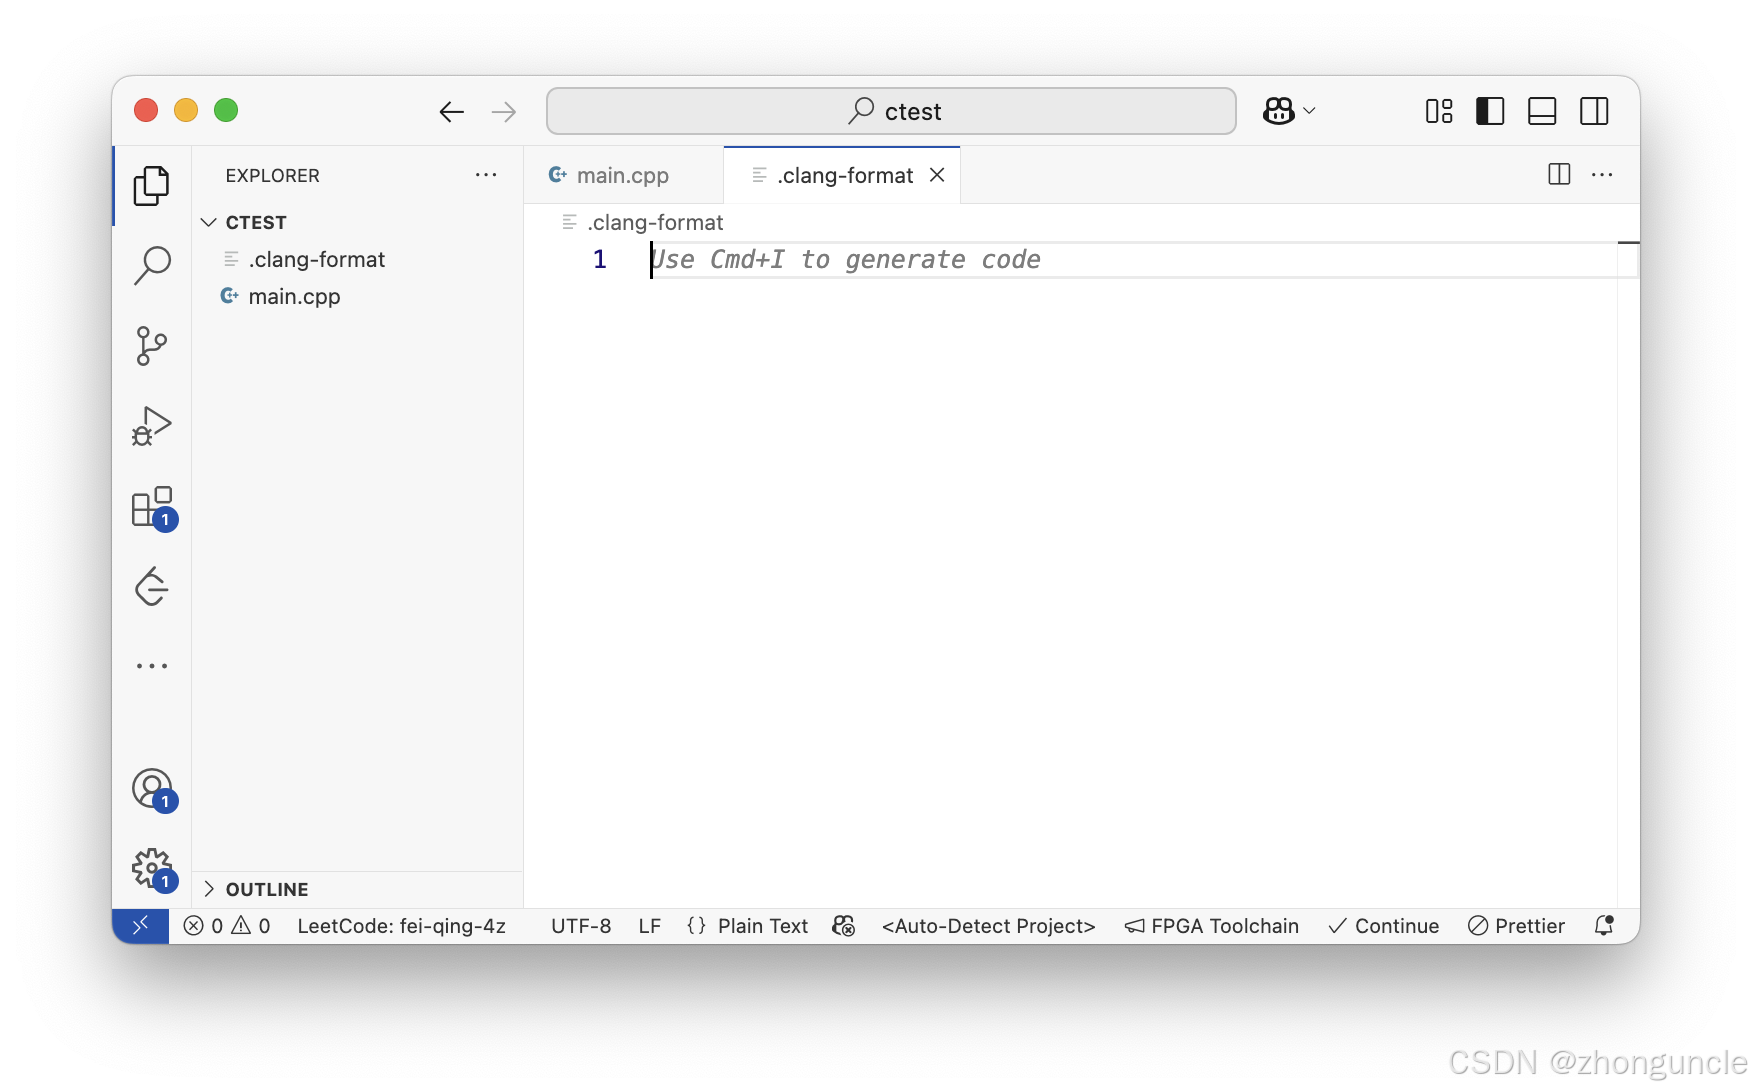
3. .clang-format Configuration File
The .clang-format file (YAML format) is the most flexible option—place it in your project’s root directory:
The configuration is similar to the key-value pair method but uses YAML syntax. For example:
---
Language: Cpp
BasedOnStyle: LLVM
UseTab: Never
IndentWidth: 3
TabWidth: 3
BreakBeforeBraces: Attach
AllowShortIfStatementsOnASingleLine: false
IndentCaseLabels: false
ColumnLimit: 0
AccessModifierOffset: -4
NamespaceIndentation: All
FixNamespaceComments: false
---
Formatted result (note the 3-space indentation):
#include <iostream>

int main() {
   for (int i = 0; i < 5; ++i) {
      std::cout << i << " ";
   }
   return 0;
}
Multi-Language Support
You can configure formatting for different languages in a single .clang-format file. Example from the official documentation:
---
Language: Cpp
# Force pointers to the type for C++.
DerivePointerAlignment: false
PointerAlignment: Left
---
Language: JavaScript
# Use 100 columns for JS.
ColumnLimit: 100
---
This is incredibly useful for large projects with mixed languages.
For all available settings, refer to the official ClangFormat documentation.
I hope these will help someone in need~
References
- Clang-Format Style Options - Clang 21.0.0git documentation: Core reference—VS Code’s formatting is powered by ClangFormat.
- GNU coding standards - GNU Project: GNU’s official coding style guide.
- Linux kernel coding style - The Linux Kernel: Linux kernel’s coding style guide (highly recommended over GNU’s).
While GNU and Linux have a complex relationship (and GNU has made significant contributions), Linux’s coding style documentation is far more accessible. As Linus Torvalds writes in the Linux guide:
First off, I’d suggest printing out a copy of the GNU coding standards, and NOT read it. Burn them, it’s a great symbolic gesture.
Coincidentally, the two Linus quotes we referenced are nearly adjacent in the document:
Coding styles are subjective—different projects use different standards, and no style is inherently “better” than others. Large companies like Google and Apple also have their own guidelines. If we had to recommend one guide to read first, it would be the Linux kernel’s—it’s concise, includes examples, and explains the “why” behind the rules. The others are easier to understand once you have a foundational grasp of coding style principles.
- ClangFormat - Clang 21.0.0git documentation: Official ClangFormat documentation (covers structure and command-line usage).
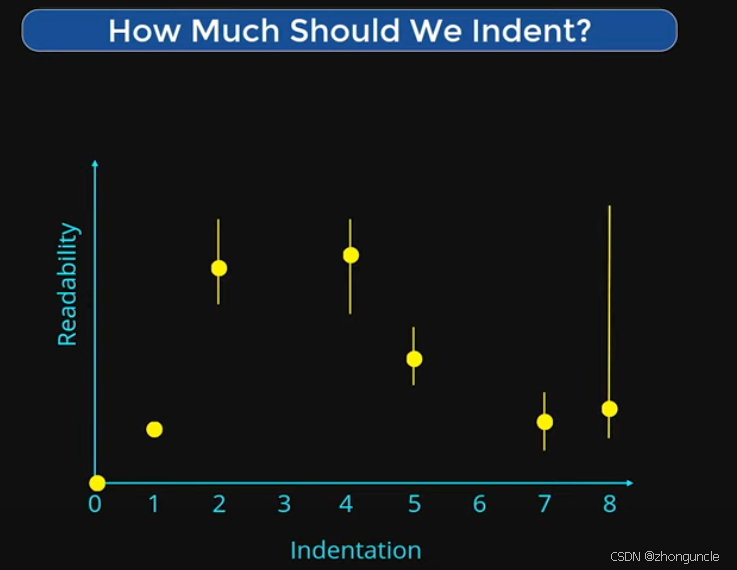
- Lightning Talk: How Far Should You Indent Your Code? - The Number Of The Counting - Dave Steffen - CppCon: A short, entertaining video about indentation. Example slide from the video: