How to Install (No Compilation or Brew Required) and Use FFmpeg to Convert MKV to MP4 on macOS, Including Hardware Acceleration
Recently, I needed to convert MKV files to MP4 format. Since Apple’s Compressor doesn’t support MKV, I decided to use FFmpeg. However, the video files were extremely large, and basic commands were too slow—so I wanted to use hardware acceleration. Due to macOS’s uniqueness, the hardware acceleration method provided on the official FFmpeg website doesn’t work. After some research, I put together this quick tutorial in hopes of helping others in need.
Important note: FFmpeg is not a GUI (Graphical User Interface) tool—using it requires some command-line experience. But I’ll break it down step by step to make it as accessible as possible for beginners.
First, a brief introduction to FFmpeg: FFmpeg is a powerful tool for video/audio transcoding, encoding, decoding, and recording. It can capture streaming video/audio, convert file formats, and more. Its official website is: http://www.ffmpeg.org. As open-source software, it’s the backbone of many video conversion and download tools.
Install FFmpeg
The first step is installation. The official website provides both source code (for custom compilation) and precompiled full versions—we’ll use the precompiled full version for simplicity.
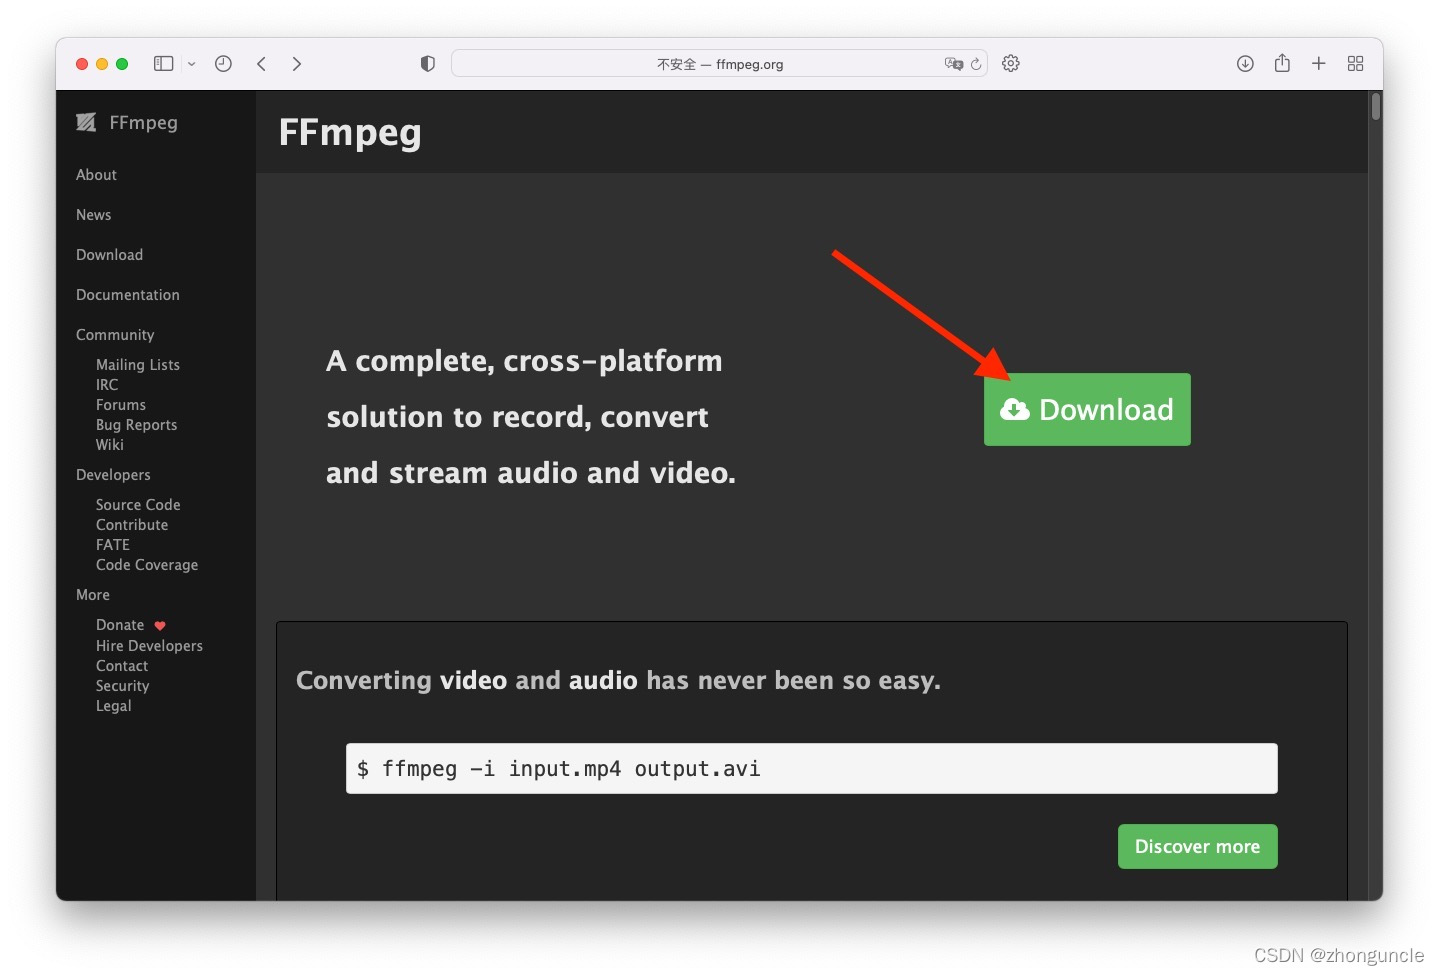
- Visit the official FFmpeg website and click “Download”:
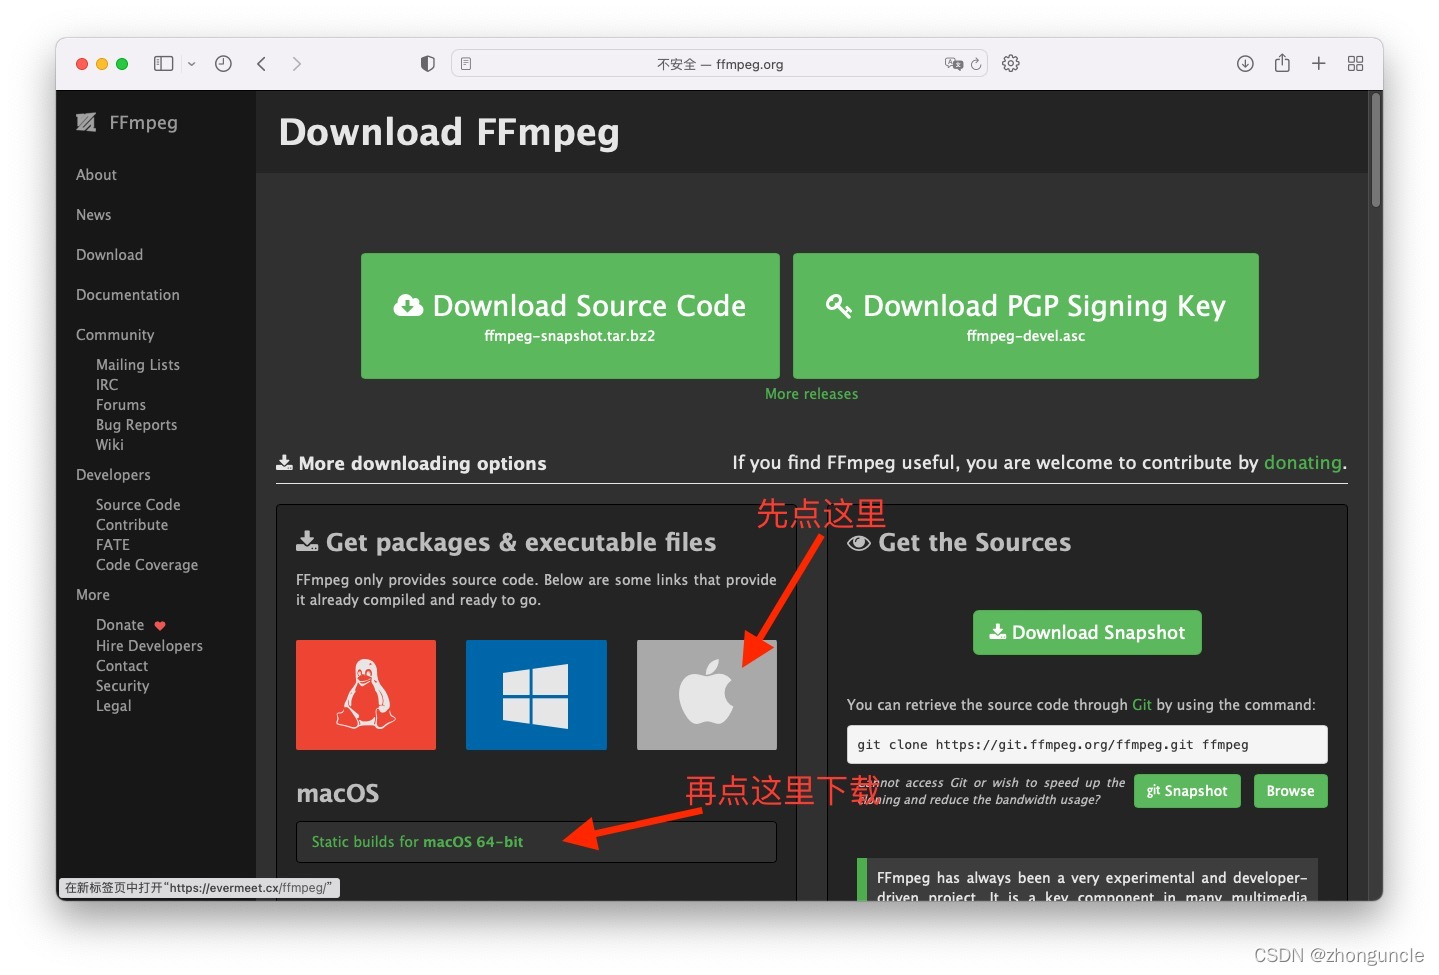
- Click the Apple icon, then download the 64-bit static build:
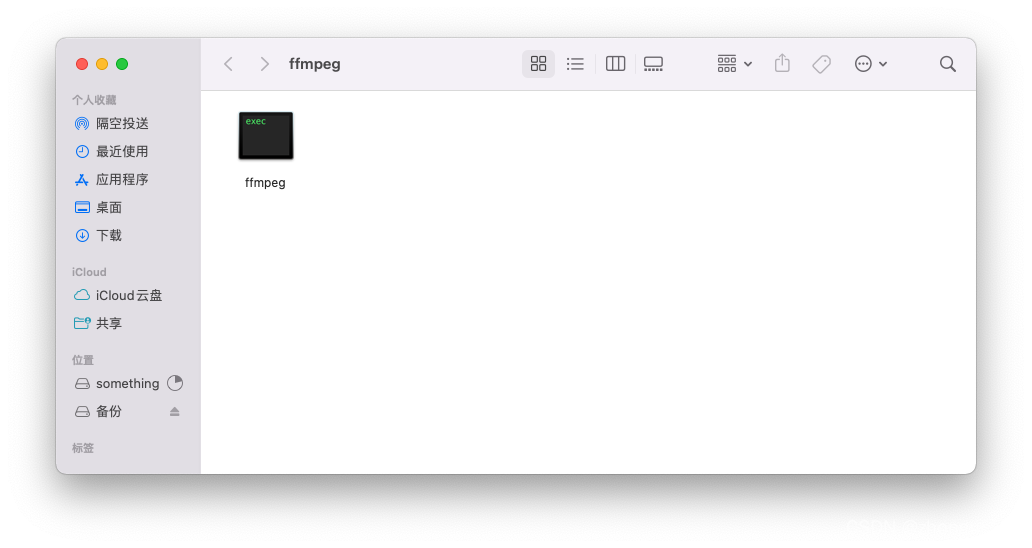
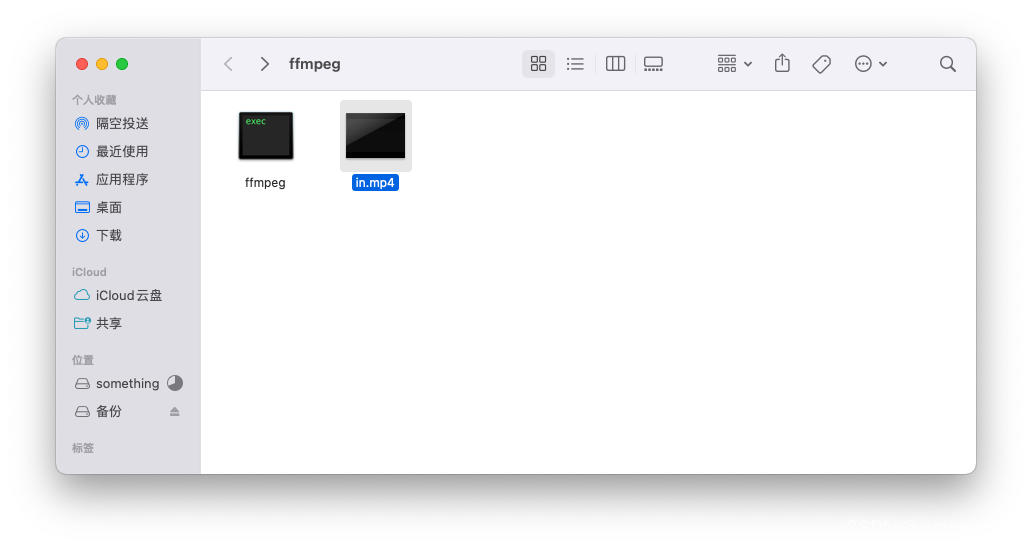
- A compressed archive will download. Create a new folder named “
ffmpeg” on your Desktop, drag the archive into this folder, and double-click to extract it. You’ll see the executable file, roughly like this:
- Double-click the executable— it will automatically configure itself, as shown below:
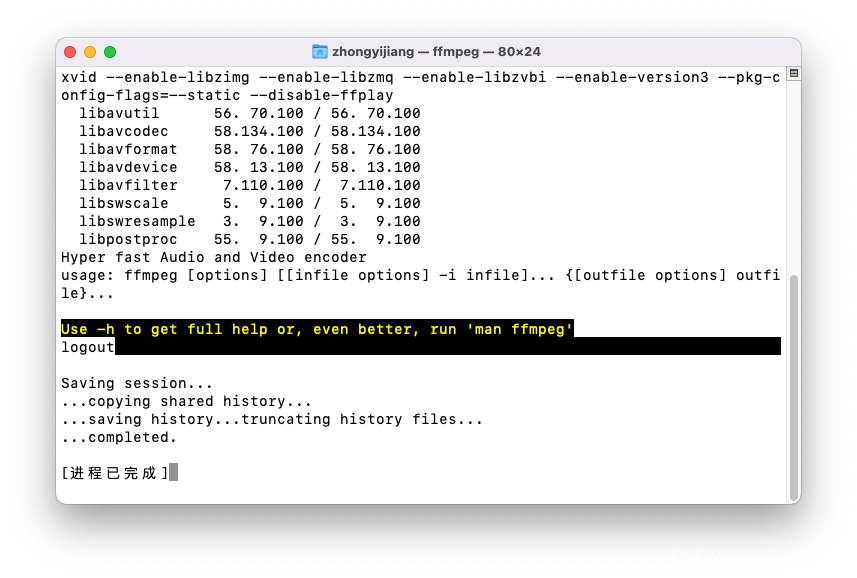
Installation is now complete!
Basic FFmpeg Usage
Next, we’ll use Terminal to run FFmpeg. Here are convenient ways to open Terminal:
- Press Command + Space to open Spotlight Search, then search for “Terminal” (or “终端” in Chinese).
- Open Launchpad, navigate to the “Other” folder, and click “Terminal”.
By default, macOS Terminal’s working directory is your user’s home folder. Use the following command to switch to the ffmpeg folder you created on the Desktop:
cd Desktop/ffmpeg/
You can now use ./ffmpeg to run the program.
View Help Documentation
Use these commands to access FFmpeg’s help (useful for troubleshooting or advanced usage):
# Short help and basic tips
./ffmpeg -h
# Longer help with more options
./ffmpeg -h long
# Full help documentation (comprehensive)
./ffmpeg -h full
Now let’s start transcoding!
Basic Video Format Conversion (Transcoding)
FFmpeg transcoding is straightforward. For demonstration, I dragged an MP4 file named in.mp4 into the ffmpeg folder as the input file:
Use the following command to convert it to a MOV file named out.mov (you can customize both input/output filenames):
./ffmpeg -i in.mp4 out.mov
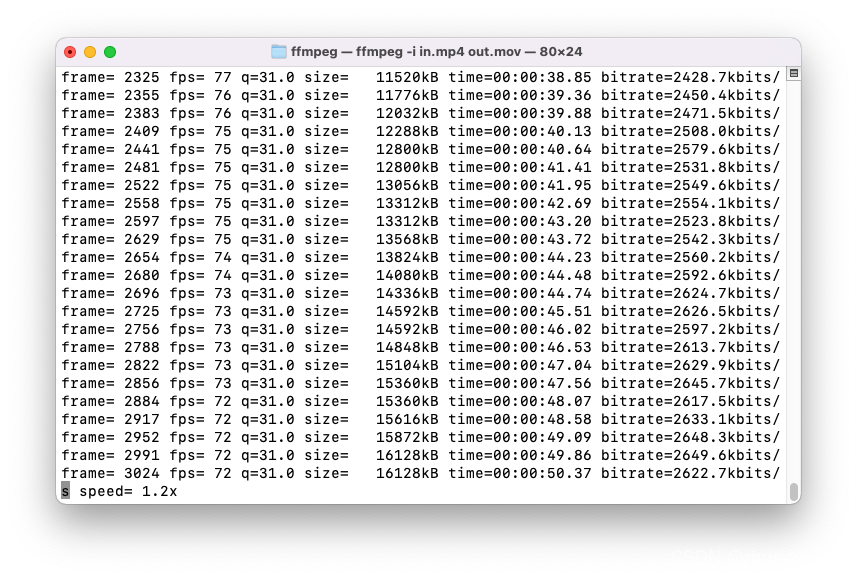
Press Enter to start transcoding. You’ll see output like this:
Understanding the Transcoding Output
Let’s break down the repeating lines (from left to right):
frame=: Number of frames processed so far.fps=: Frames per second since the last update (related to thespeedvalue in the bottom left—more on this later).q: Video quality. Since we didn’t specify quality settings, FFmpeg auto-selects it (here it’s 31; max is 52 for some encoders—higher values = lower quality).size=: Data size processed since the last update.time: Current position in the source video (e.g.,time=00:01:36.68means we’ve transcoded 1 minute and 36.68 seconds of the video).bitrate=: Average bitrate since the last update. This value usually hovers around a consistent number (which you can customize—see below).
The speed value in the bottom left indicates transcoding speed relative to real-time. For example:
- If the video’s average frame rate is 60 FPS and FFmpeg processes 72 FPS,
speedwill show1.2x. - Estimated rendering time ≈ Video duration ÷ Speed.
- A speed below
1xis considered slow—this is when hardware acceleration becomes useful.
Key Factors Affecting Transcoding Speed
- Bitrate of the source/destination file: Lower bitrates = faster transcoding (but may reduce quality).
- Target file format: For example, converting to AVI is much faster than MOV.
Fixing Low-Quality Output
You may notice the transcoded video is blurrier than the source—this happens when the target file’s bitrate is too low (common if the output file is significantly smaller than the input). As shown below:
- Top: Source file (average bitrate = 41970k).
- Bottom: Default transcoded file (average bitrate = 2780k).

The hair in the default output is blurred together. To improve quality, use a higher bitrate:
- For lossless transcoding: Set the target bitrate ≥ source file bitrate.
- For video platforms: 1080P videos need a bitrate of at least 5000k for good quality.
- Note: MOV generally has lower quality than MP4 at the same bitrate.
Let’s set the bitrate to 10000k (nearly 4x the default):
./ffmpeg -i in.mp4 -b:v 10000k out.mov
Quality comparison (top to bottom: “Source File”, “Default Settings”, “10000k Bitrate”):

The 10000k bitrate output is much clearer, though still slightly inferior to the source.
Accelerate FFmpeg Transcoding on macOS
For slow transcoding, use hardware acceleration—this leverages your GPU or specialized instruction sets to speed up processing while reducing CPU and memory usage.
However, FFmpeg’s official documentation doesn’t mention macOS-compatible hardware acceleration methods, and common options like qsv won’t work. Here’s how to enable it:
Step 1: Check Supported Hardware Acceleration Methods
Run this command to see which hardware acceleration options are available on your macOS device:
./ffmpeg -hwaccels
At the bottom of the output, you’ll see supported methods:
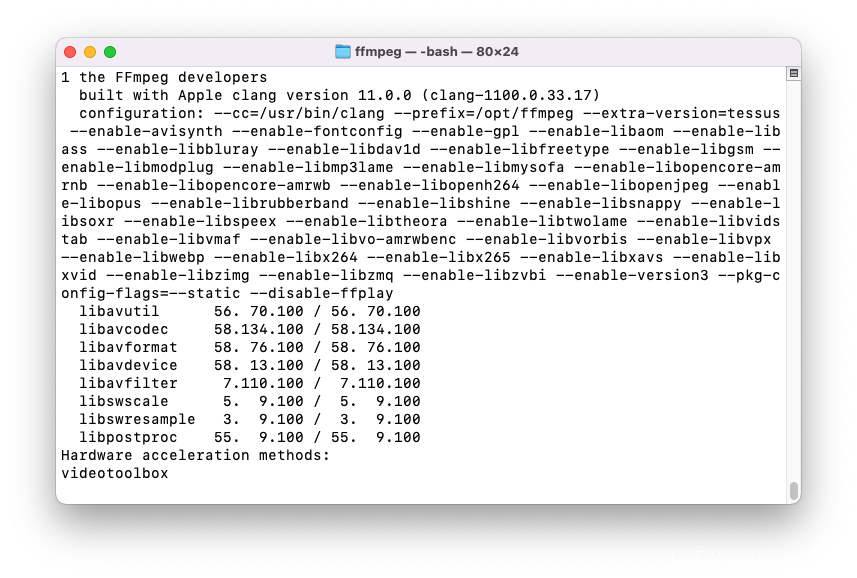
Only videotoolbox is supported—macOS uses Apple’s VideoToolbox framework for hardware-accelerated H.264 and H.265/HEVC encoding.
Apple uses VideoToolbox to provide hardware acceleration for H.264 and H.265/HEVC video encoding.
Step 2: Use Hardware-Accelerated Transcoding
Modify the earlier command to enable VideoToolbox acceleration:
# For H.264-encoded source files
./ffmpeg -hwaccel videotoolbox -i in.mp4 -c:v h264_videotoolbox -b:v 10000k out.mov

# For H.265/HEVC-encoded source files (replace h264_videotoolbox with hevc_videotoolbox)
# ./ffmpeg -hwaccel videotoolbox -i in.mp4 -c:v hevc_videotoolbox -b:v 10000k out.mov
Explanation of key options:
-hwaccel videotoolbox: Enables VideoToolbox hardware acceleration.-c:v h264_videotoolbox: Uses the H.264 VideoToolbox encoder (match this to your source file’s codec).
Performance Improvement
Without acceleration, my transcoding speed was 0.949x (slower than real-time). With hardware acceleration, it jumped to 1.91x—nearly double the speed (performance depends on your GPU).
Balancing Speed and Quality
Hardware-accelerated transcoding may have slightly lower quality than software transcoding. For most use cases (especially with high bitrates), the difference is unnoticeable. If quality is critical, add the -preset veryslow option to slow down transcoding and improve quality:
./ffmpeg -hwaccel videotoolbox -i in.mp4 -c:v h264_videotoolbox -b:v 10000k -preset veryslow out.mov
That’s the basics of using FFmpeg for video conversion on macOS! I plan to cover more advanced usage in future posts.
I hope these will help someone in need~