How to Install Stable Diffusion Web UI & xFormers on Ubuntu (Fix Network & Version Mismatch Issues)
This is a verified step-by-step guide I compiled after multiple tests. Installing Stable Diffusion Web UI and the corresponding xFormers correctly can be extremely tedious—official and online tutorials are often incomplete or scattered. I figured out the process earlier but forgot to document it, leading to installation failures after reinstalling my system. This time, I’m writing it down so you can get everything up and running in 1 hour max (or under 10 minutes with fast internet).
Why Do We Need xFormers?
xFormers is an optimization framework developed by Meta (formerly Facebook) that reduces VRAM/memory usage and speeds up image generation in Stable Diffusion Web UI.
Here’s a comparison on my RTX 3060 12GB (note: results are for common resolutions—unusual resolutions may produce glitched images):
| Resolution | Without xFormers | With xFormers |
|---|---|---|
| 512x512 Speed | 5.1 s | 4.5 s |
| 512x512 VRAM Usage | 7608MiB | 7606MiB |
| 1024x1024 Speed | 18.1 s | 14.6 s |
| 1024x1024 VRAM Usage | 8866MiB | 8094MiB |
However, installing xFormers is the tricky part. While many tutorials mention matching xFormers with specific PyTorch and CUDA versions, two key issues remain:
- Most guides only point to version compatibility tables without clear instructions on how to use them.
- Even after following table-based installations, errors often persist.
After research, I found these version concerns are unnecessary—my guide avoids manual version matching entirely. For more details on Python and package management, see the “Extra Tips” section at the end.
If you only need the steps, skip to the “Condensed Installation Steps” section.
Detailed Installation Guide
I’ll demonstrate the full installation process, highlighting potential pitfalls. Please follow along sequentially—Python version management can be complex!
Step 1: Clone the Repository
First, clone the Stable Diffusion Web UI repo (Git is required—ZIP downloads require extra configuration and are not recommended):
git clone git@github.com:AUTOMATIC1111/stable-diffusion-webui.git
If the repo fails to clone due to network issues, try modifying GitHub’s IP or use other Git acceleration methods. The repo must remain a Git repository for proper functionality.
Step 2: Initialize the Installation (and Stop It)
Navigate to the repo directory and start the official installation script:
cd stable-diffusion-webui/
./webui.sh
You’ll likely encounter slowdowns or errors when you see this output:
............
............
Successfully installed pip-25.0.1

################################################################
Launching launch.py...

Launching launch.py...
################################################################
glibc version is 2.35
Check TCMalloc: libtcmalloc_minimal.so.4
libtcmalloc_minimal.so.4 is linked with libc.so,execute LD_PRELOAD=/lib/x86_64-linux-gnu/libtcmalloc_minimal.so.4
Python 3.10.12 (main, Jan 17 2025, 14:35:34) [GCC 11.4.0]
Version: v1.10.1
Commit hash: 82a973c04367123ae98bd9abdf80d9eda9b910e2
Installing torch and torchvision
Looking in indexes: https://mirrors.tuna.tsinghua.edu.cn/pypi/web/simple, https://download.pytorch.org/whl/cu121
Press Ctrl+C to stop the process immediately (explanation later). The last line shows PyTorch is being installed from two sources:
- Tsinghua University’s mirror (only provides CPU-only PyTorch builds).
- Official PyTorch repo (prone to network timeouts in China).
This causes the slowdown/error—we need to fix the mirror first.
Step 3: Configure Mirror and Launch Arguments
Edit the webui-user.sh file in the repo directory to:
- Use Alibaba Cloud’s PyTorch mirror (supports GPU/CUDA builds).
- Enable xFormers and LAN access.
Modify the file as follows (replace cu124 with your CUDA version):
# Commandline arguments for webui.py, for example: export COMMANDLINE_ARGS="--medvram --opt-split-attention"
export COMMANDLINE_ARGS="--listen --xformers"  # --listen enables LAN access; --xformers enables xFormers

# Install command for torch (replace cu124 with your CUDA version)
export TORCH_COMMAND="pip install torch -f https://mirrors.aliyun.com/pytorch-wheels/cu124"
Step 4: Resume Installation
Restart the installation script—it will now download required repos and models using the correct mirror:
./webui.sh
If repos fail to clone: Use Git acceleration methods (e.g., modify GitHub IP).
If models fail to download: Manually download them via HF-Mirror (follow their documentation) and move/link them to the correct directories.
Step 5: Fix xFormers CUDA Compatibility Error
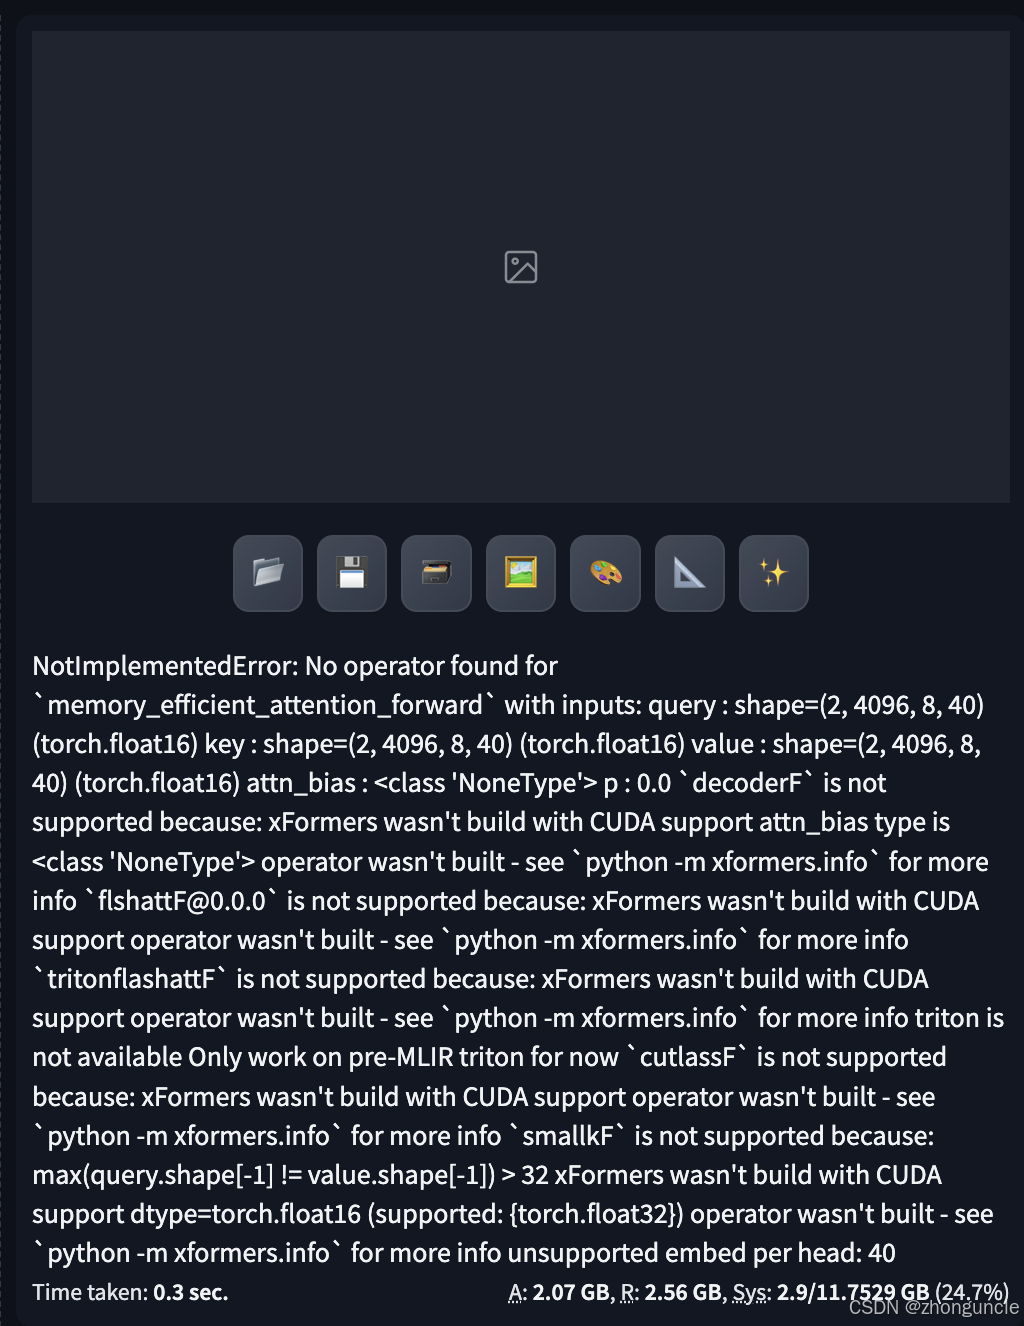
After installation completes, the Web UI will launch. However, image generation will fail with this error (in the browser and terminal):
Terminal error output:
....
....
        raise NotImplementedError(msg)
    NotImplementedError: No operator found for `memory_efficient_attention_forward` with inputs:
         query       : shape=(2, 4096, 8, 40) (torch.float16)
         key         : shape=(2, 4096, 8, 40) (torch.float16)
         value       : shape=(2, 4096, 8, 40) (torch.float16)
         attn_bias   : <class 'NoneType'>
         p           : 0.0
    `decoderF` is not supported because:
        xFormers wasn't build with CUDA support
        attn_bias type is <class 'NoneType'>
        operator wasn't built - see `python -m xformers.info` for more info
    `flshattF@0.0.0` is not supported because:
        xFormers wasn't build with CUDA support
        operator wasn't built - see `python -m xformers.info` for more info
    `tritonflashattF` is not supported because:
        xFormers wasn't build with CUDA support
        operator wasn't built - see `python -m xformers.info` for more info
        triton is not available
        Only work on pre-MLIR triton for now
    `cutlassF` is not supported because:
        xFormers wasn't build with CUDA support
        operator wasn't built - see `python -m xformers.info` for more info
    `smallkF` is not supported because:
        max(query.shape[-1] != value.shape[-1]) > 32
        xFormers wasn't build with CUDA support
        dtype=torch.float16 (supported: {torch.float32})
        operator wasn't built - see `python -m xformers.info` for more info
        unsupported embed per head: 40
This error means xFormers and CUDA versions are mismatched. Here’s how to fix it:
- Press
Ctrl+Cto stop the Web UI. - Check xFormers info using the project’s virtual environment (not the system Python):
./venv/bin/python -m xformers.info
Sample output:
$ ./venv/bin/python -m xformers.info
WARNING[XFORMERS]: xFormers can't load C++/CUDA extensions. xFormers was built for:
    PyTorch 2.1.2+cu121 with CUDA 1201 (you have 2.6.0+cu124)
    Python  3.10.13 (you have 3.10.12)
  Please reinstall xformers (see https://github.com/facebookresearch/xformers#installing-xformers)
  Memory-efficient attention, SwiGLU, sparse and more won't be available.
  Set XFORMERS_MORE_DETAILS=1 for more details
.....
.....
The output shows xFormers was built for PyTorch 2.1.2+cu121, but we’re using PyTorch 2.6.0+cu124. No need to memorize these versions—we’ll let pip handle the matching.
Step 6: Install Compatible xFormers in the Virtual Environment
Stable Diffusion Web UI uses a built-in Python virtual environment (in the venv directory) to avoid version conflicts. We need to activate this environment and install the correct xFormers version:
- Activate the virtual environment:
source ./venv/bin/activateYou’ll see
(venv)at the start of your terminal prompt. - Install the compatible xFormers version (replace
cu124with your CUDA version):pip install -U xformers -f https://mirrors.aliyun.com/pytorch-wheels/cu124- The
-Uflag (short for--upgrade) automatically finds and installs the latest xFormers version compatible with your PyTorch/CUDA setup (it can even “downgrade” to a compatible version if needed).
- The
Step 7: Launch Stable Diffusion Web UI
Now you can start the Web UI—xFormers will work with CUDA properly:
./webui.sh
For a guide on using Stable Diffusion Web UI (prompts, parameters, etc.), check out my other blog: Animagine XL V3.1 Complete Guide: Master SD WebUI Parameters & Prompt Writing (Teach You to Fish)
Condensed Installation Steps
- Clone the repository:
git clone git@github.com:AUTOMATIC1111/stable-diffusion-webui.git - Initialize the installation and stop it when stuck:
cd stable-diffusion-webui/ ./webui.sh # Press Ctrl+C after seeing "Installing torch and torchvision" - Edit
webui-user.shto configure mirror and arguments:# Add these lines to webui-user.sh export COMMANDLINE_ARGS="--listen --xformers" export TORCH_COMMAND="pip install torch -f https://mirrors.aliyun.com/pytorch-wheels/cu124" # Replace cu124 with your CUDA version - Resume installation to download dependencies:
./webui.sh - Activate the virtual environment:
source ./venv/bin/activate - Install compatible xFormers:
pip install -U xformers -f https://mirrors.aliyun.com/pytorch-wheels/cu124 # Match CUDA version - Launch the Web UI:
./webui.sh
Extra Tips
Managing multiple Python/PIP versions can be confusing—here are key best practices:
- Check for Virtual Environments: Look for prefixes like
(venv)or(base)(Conda) in your terminal to see if a virtual environment is active. - Verify Default Python Version:
python --version - Align PIP with Python: If your default
pipdoesn’t match your defaultpython, install packages using:python -m pip install <package>This ensures the package is installed for the specific Python interpreter you’re using.
- Master PIP’s
-UFlag: While-Ustands for “upgrade,” it also resolves version conflicts by fetching the latest compatible version (even if it’s an older release than the current one). Use it when forcing versions to avoid “no operation” errors.
I hope these will help someone in need~