Jump between Views in SwiftUI (How to jump to other page)
During the development process, we often jump between many pages. There are two methods in SwiftUI:
NavigationViewmethod: the most common method. Data can be passed between each page. Since it jumps page by page, so it is not suitable for jumping between some pages. This method has been deprecated since iOS 16. For new methods, please see my new blog: New Navigation mode in SwiftUI from iOS 16 (updated on 2022-11-24).- Specify jump method: you can jump between several pages. However, the problem is that the data is not convenient to transfer and only suitable for static interfaces (without any parameters).
NavigationView method:
This method uses Navigationlink to specify the interface to jump to, which is also the most common method. There are two ways to use it, but both methods need to be wrapped in NavigationView.
Make NavigationLink as a button directly and click to jump.
NavigationLink(destination: <Target View>) { <Button Style> }
This is too simple and is rarely used. The usage method is the same as Button.
[Recommended] Use a Boolean value to trigger the jump (jump based on conditions)
NavigationLink(destination: <Target View>, isActive: <Conditional Value>) { EmptyView() }
This method uses EmptyView() so that it is not displayed in pages, but can be triggered. Sometimes it is necessary to use ZStack to push it to the bottom.
This method is used more, for example, you can jump to when something happened.
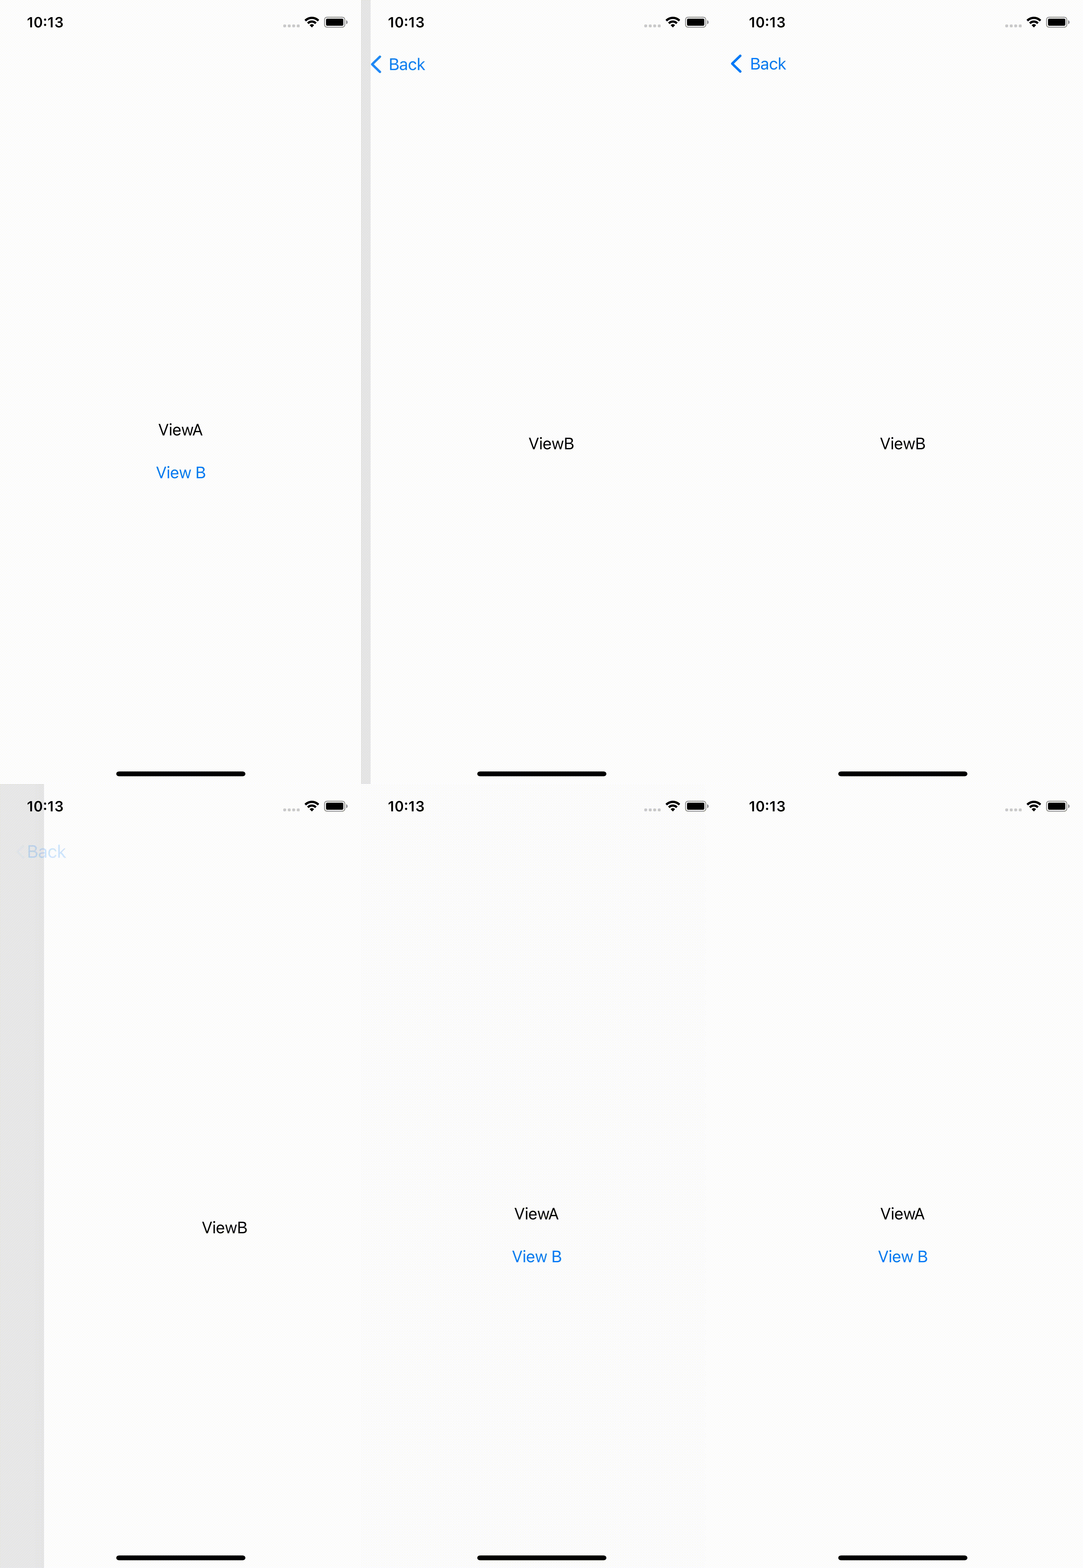
For example, click the button below to jump.
struct ContentView: View {
	// This value to trigger jump
    @State private var isShowingDetailView = false

    var body: some View {
        NavigationView {
            VStack {
                NavigationLink(destination: DetailView(), isActive: $isShowingDetailView) { EmptyView() }
                Text("ViewA")
                    .padding()
                Button(action: {
                    isShowingDetailView = true
                }, label: {
                    Text("View B")
                })
            }
        }
    }
}

struct DetailView: View {
    var body: some View {
        Text("ViewB")
            .padding()
    }
}
It looks like:

Specify jump method
This method isn’t provided by Apple. It is slightly more difficult and more limited in data transmission, but it may be easier to use when there are many interfaces.
Suppose there are three pages A, B and C. You need to click to jump.
First create a new enumeration for the three pages:
enum Views {
    case view1
    case view2
    case view3
}
Then create a new observable object ViewRouter to control the currently page:
class ViewRouter: ObservableObject {
    // When the current page is changing, the ViewRouter's view will be observed, and the main page will be notified it and updated. so you need to use the @Published attribute to wrap
    // @Published property wrapper works very similarly to the @State property wrapper. Each observing view is re-rendered every time when the value assigned to the wrapped property changes.
    @Published var currentView: Views = .view1
}
Create a new View named MainView as the main page:
// main page
struct MainView: View {
    // There are two methods to instantiate the structure, please read the comment
    // @StateObject property is used to bind View to ObservableObjects. If the hierarchy is too complex, it is not enough, you need to use @EnvironmentObject
    // @StateObject var viewRouter = ViewRouter()

    // @EnvironmentObject is a data model. Once initialized, it can be used to share data among all views of the application.
    // This method cannot refer structure with attributes, because it cannot be used if the attributes change.
    @EnvironmentObject var viewRouter: ViewRouter

    var body: some View {
        // Display the corresponding View by the currentView property of viewRouter
        switch viewRouter.currentView {
        case .view1:
            ContentViewA()
        case .view2:
            ContentViewB()
        case .view3:
            ContentViewC()
        }
    }
}
This method actually changes the current View by using the switch statement. What is changed is the currentView in the created structure ViewRouter.
@Published var currentView: Views = .view1 in the structure ViewRouter means that .view1 is displayed by default.
List the codes of three page. We will change the currentView in the structure ViewRouter when press button.
struct MainView: View {
    @EnvironmentObject var viewRouter: ViewRouter

    var body: some View {
        // Display the corresponding View by the currentView property of viewRouter
        switch viewRouter.currentView {
        case .view1:
            ContentViewA()
        case .view2:
            ContentViewB()
        case .view3:
            ContentViewC()
        }
    }
}

// First: ContentViewA
struct ContentViewA: View {
    @EnvironmentObject var viewRouter: ViewRouter

    var body: some View {
        VStack {
            Text("ViewA")
                .padding()
            Button(action: {
                viewRouter.currentView = .view2
            }, label: {
                Text("Next B")
            })
        }
        .environmentObject(viewRouter)
    }
}

// Second: ContentViewB
struct ContentViewB: View {
    @EnvironmentObject var viewRouter: ViewRouter

    @State private var showingDetailView = false

    var body: some View {
        VStack {
            Text("ViewB")
                .padding()
            Button(action: {
                viewRouter.currentView = .view3
            }, label: {
                Text("Next C")
            })
        }
        .environmentObject(viewRouter)
    }
}

// Third: ContentViewC
struct ContentViewC: View {
    @EnvironmentObject var viewRouter: ViewRouter

    @State private var showingDetailView = false

    var body: some View {
        VStack {
            Text("ViewC")
                .padding()
        }
    }
}
Then add the environment object .environmentObject(ViewRouter()) to the Preview structure or @main section. As follows:
struct ContentView_Previews: PreviewProvider {
    static var previews: some View {
        MainView()
            .environmentObject(ViewRouter())
    }
}
Or:
@main
struct viewApp: App {
    var body: some Scene {
        WindowGroup {
            MainView()
                .environmentObject(ViewRouter())
        }
    }
}
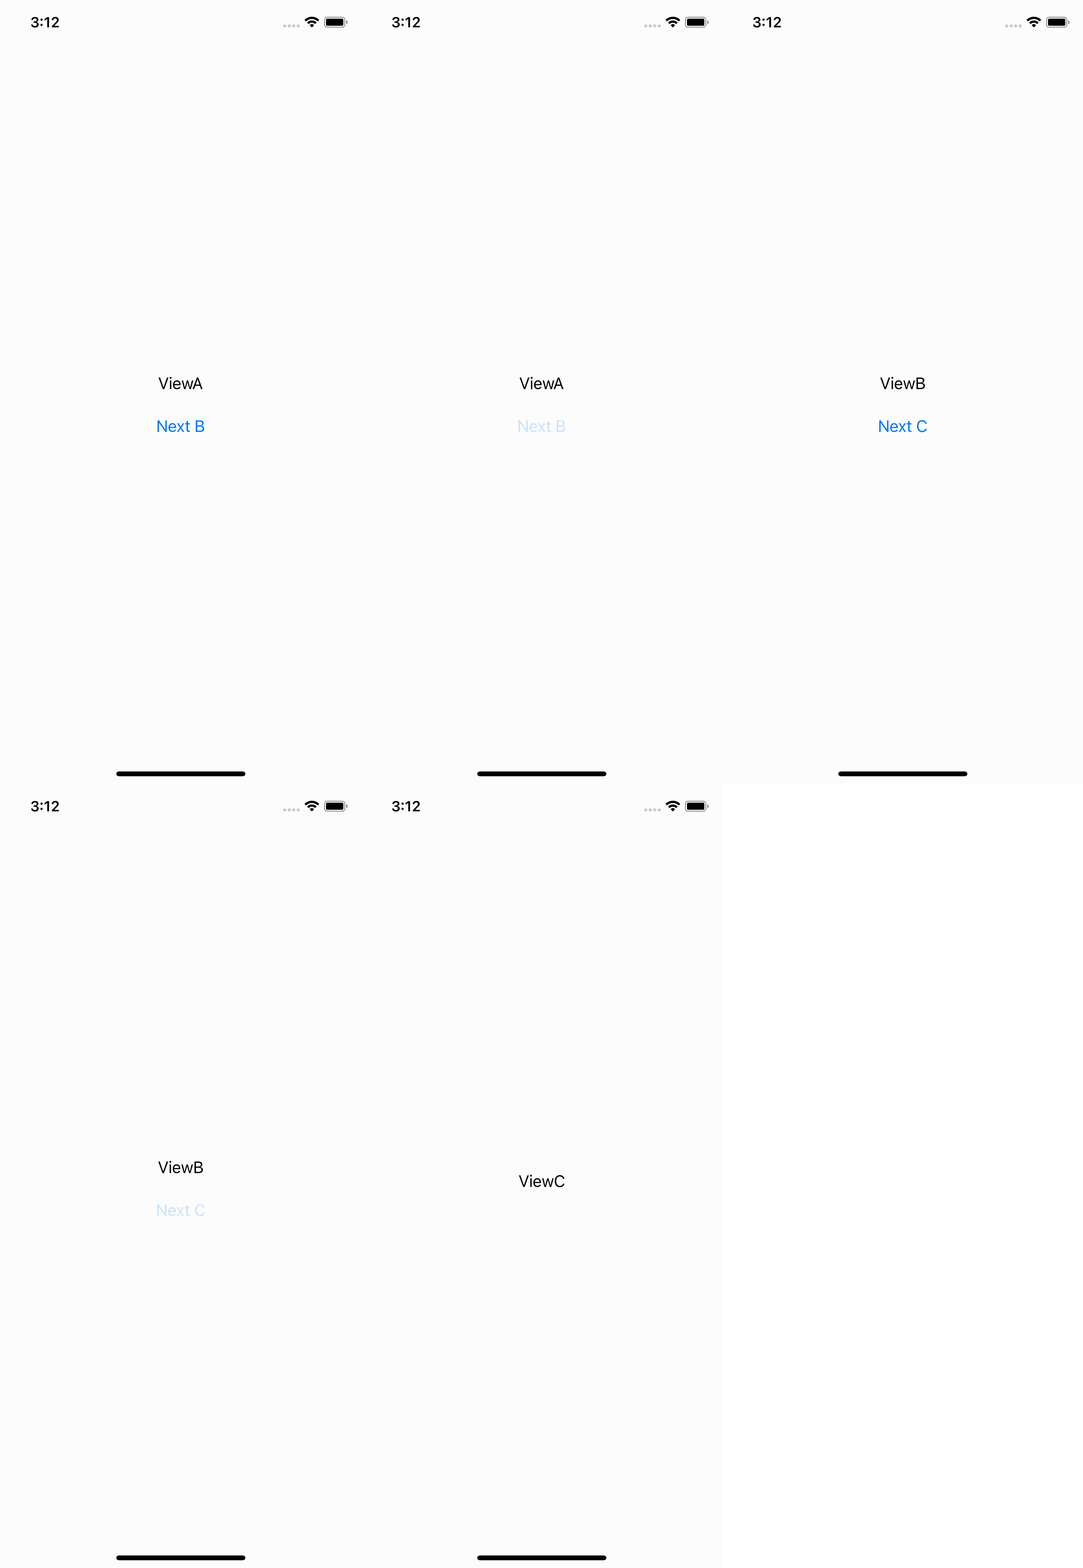
It looks like:

I hope these will help someone in need~